The last update was exactly 2 weeks ago, but it certainly doesn’t feel that long. When the your elbow deep in scheduling and coordinating work among 4 or 5 trades at the same time, the days and weeks can go by pretty fast. But being busy means much progress has been made. We’ve now passed our mechanical (HVAC) and plumbing inspections and the electrical inspection is scheduled for tomorrow. Also, the post-tension foundation cables have been stressed and are now waiting for the engineer inspection. Some more details on some of those items below:
1. Plumbing Rough-in
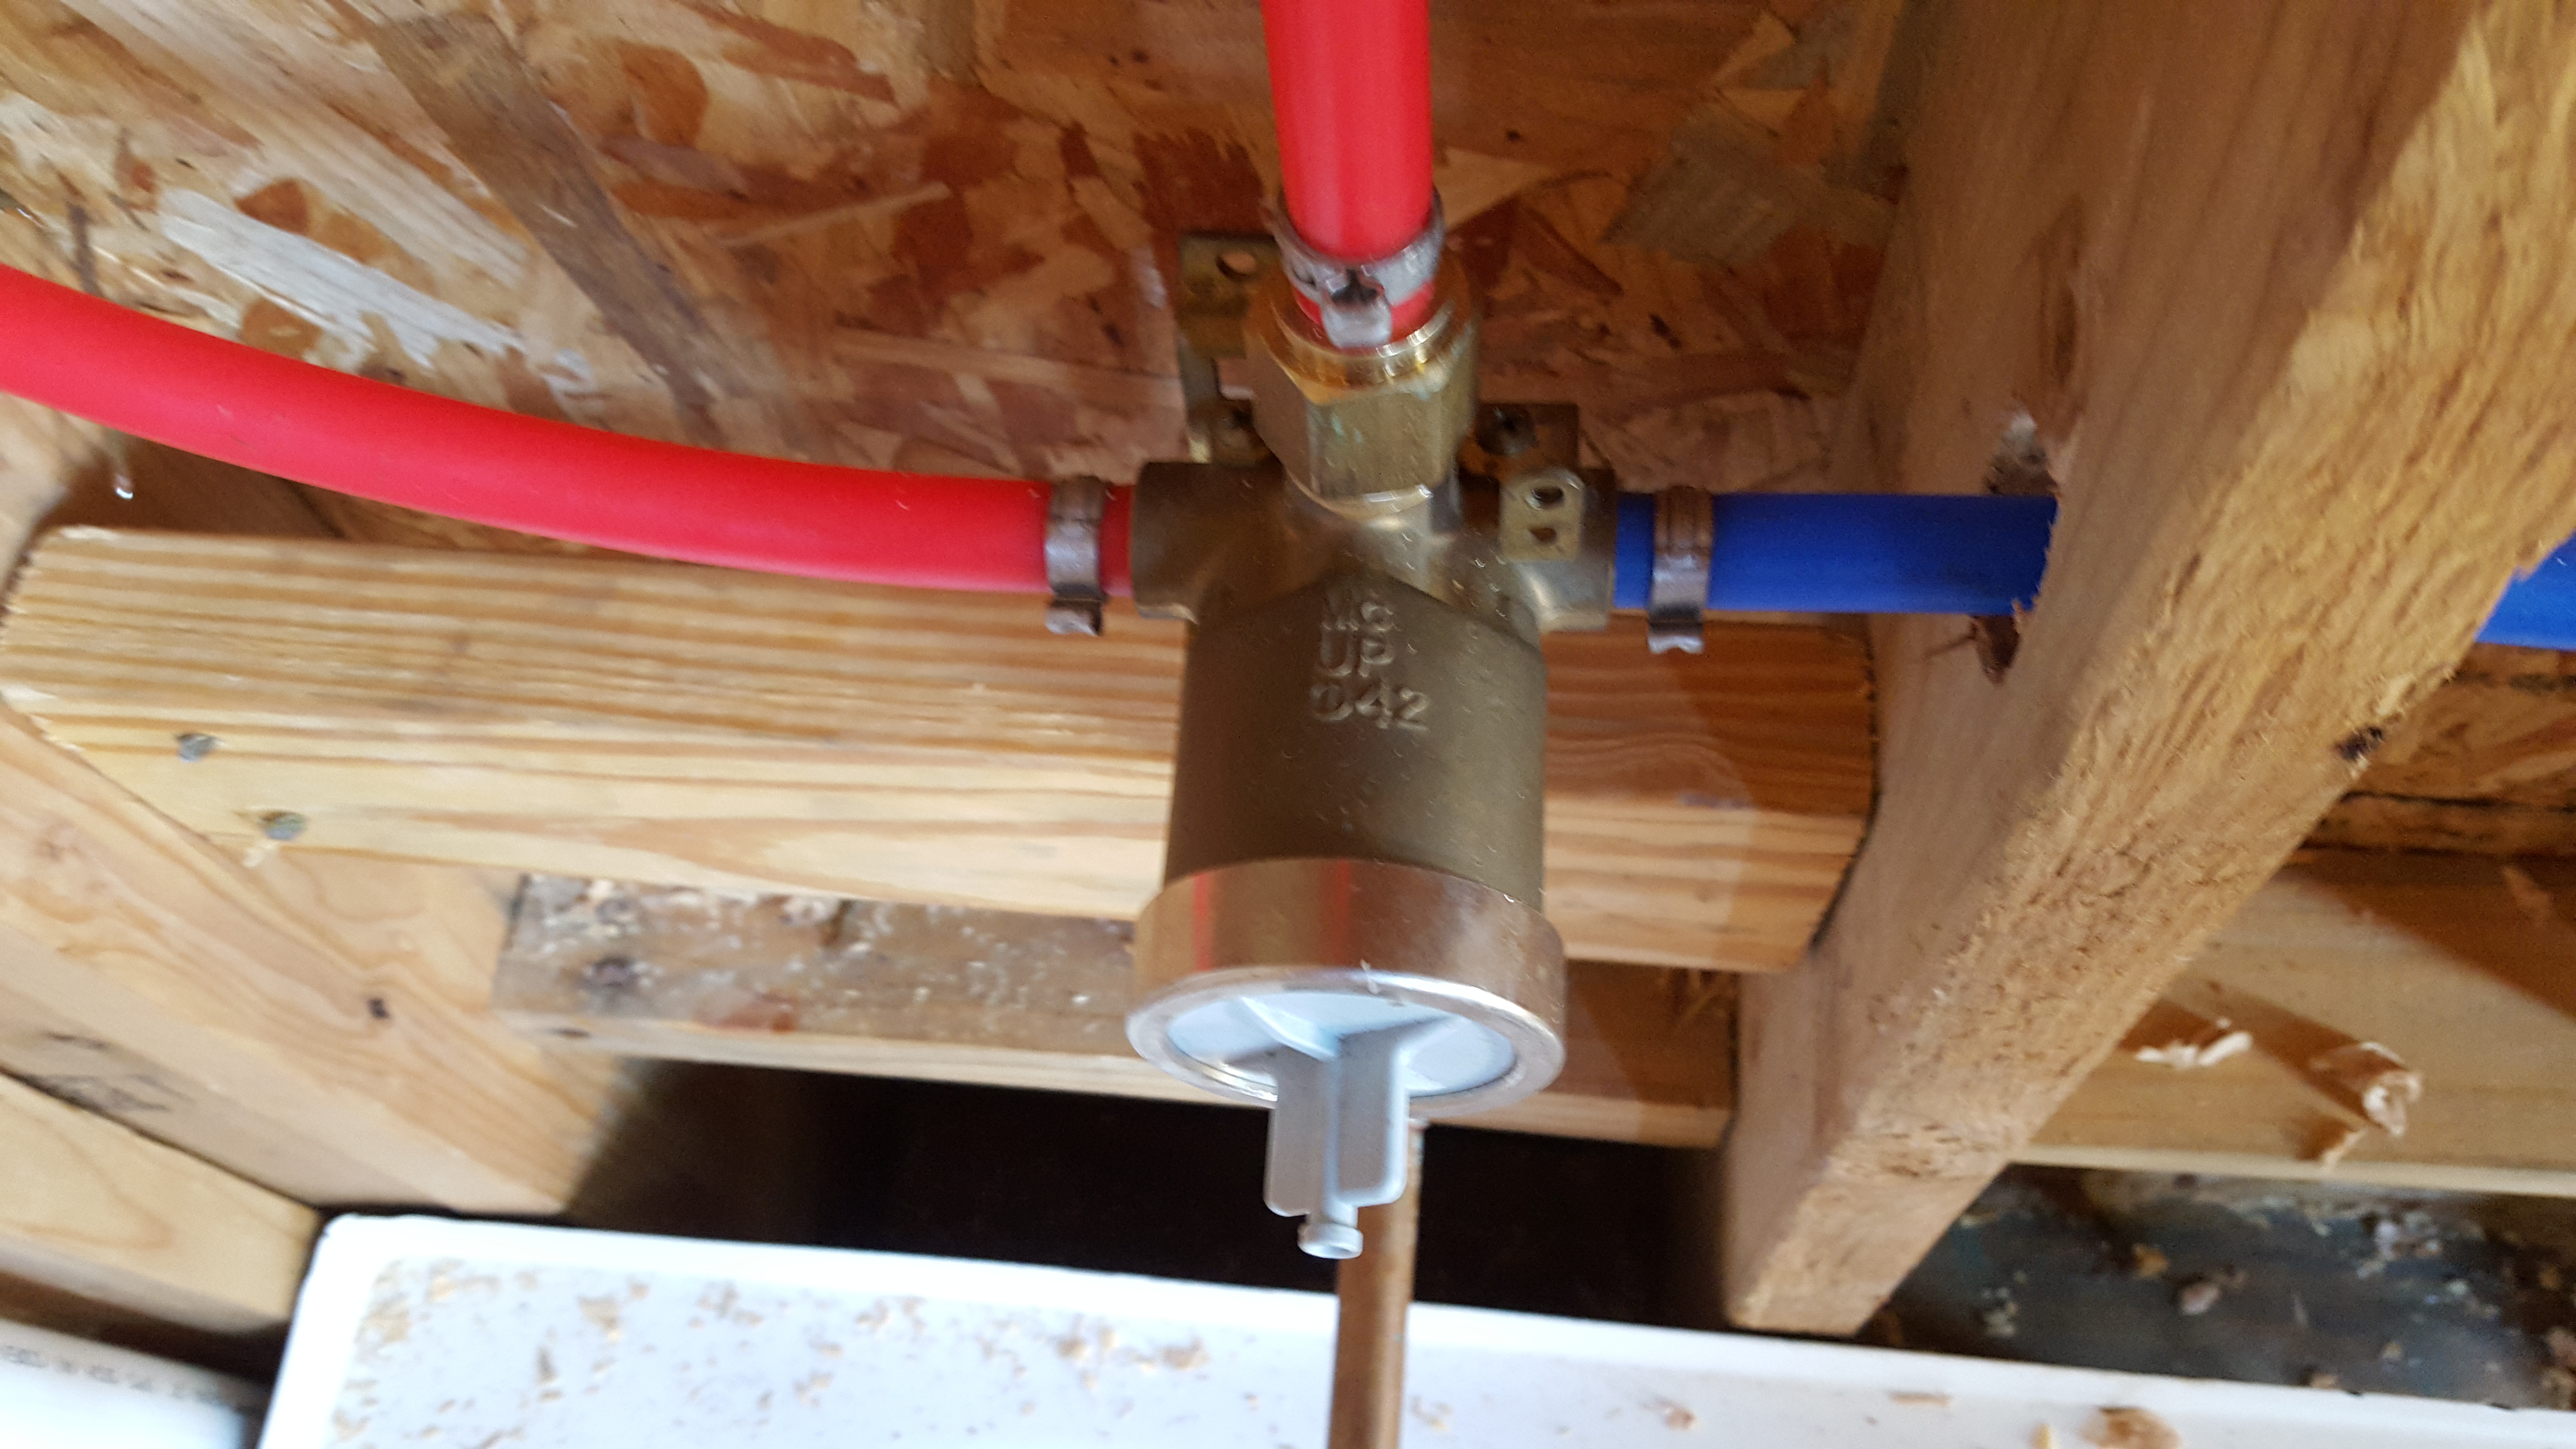
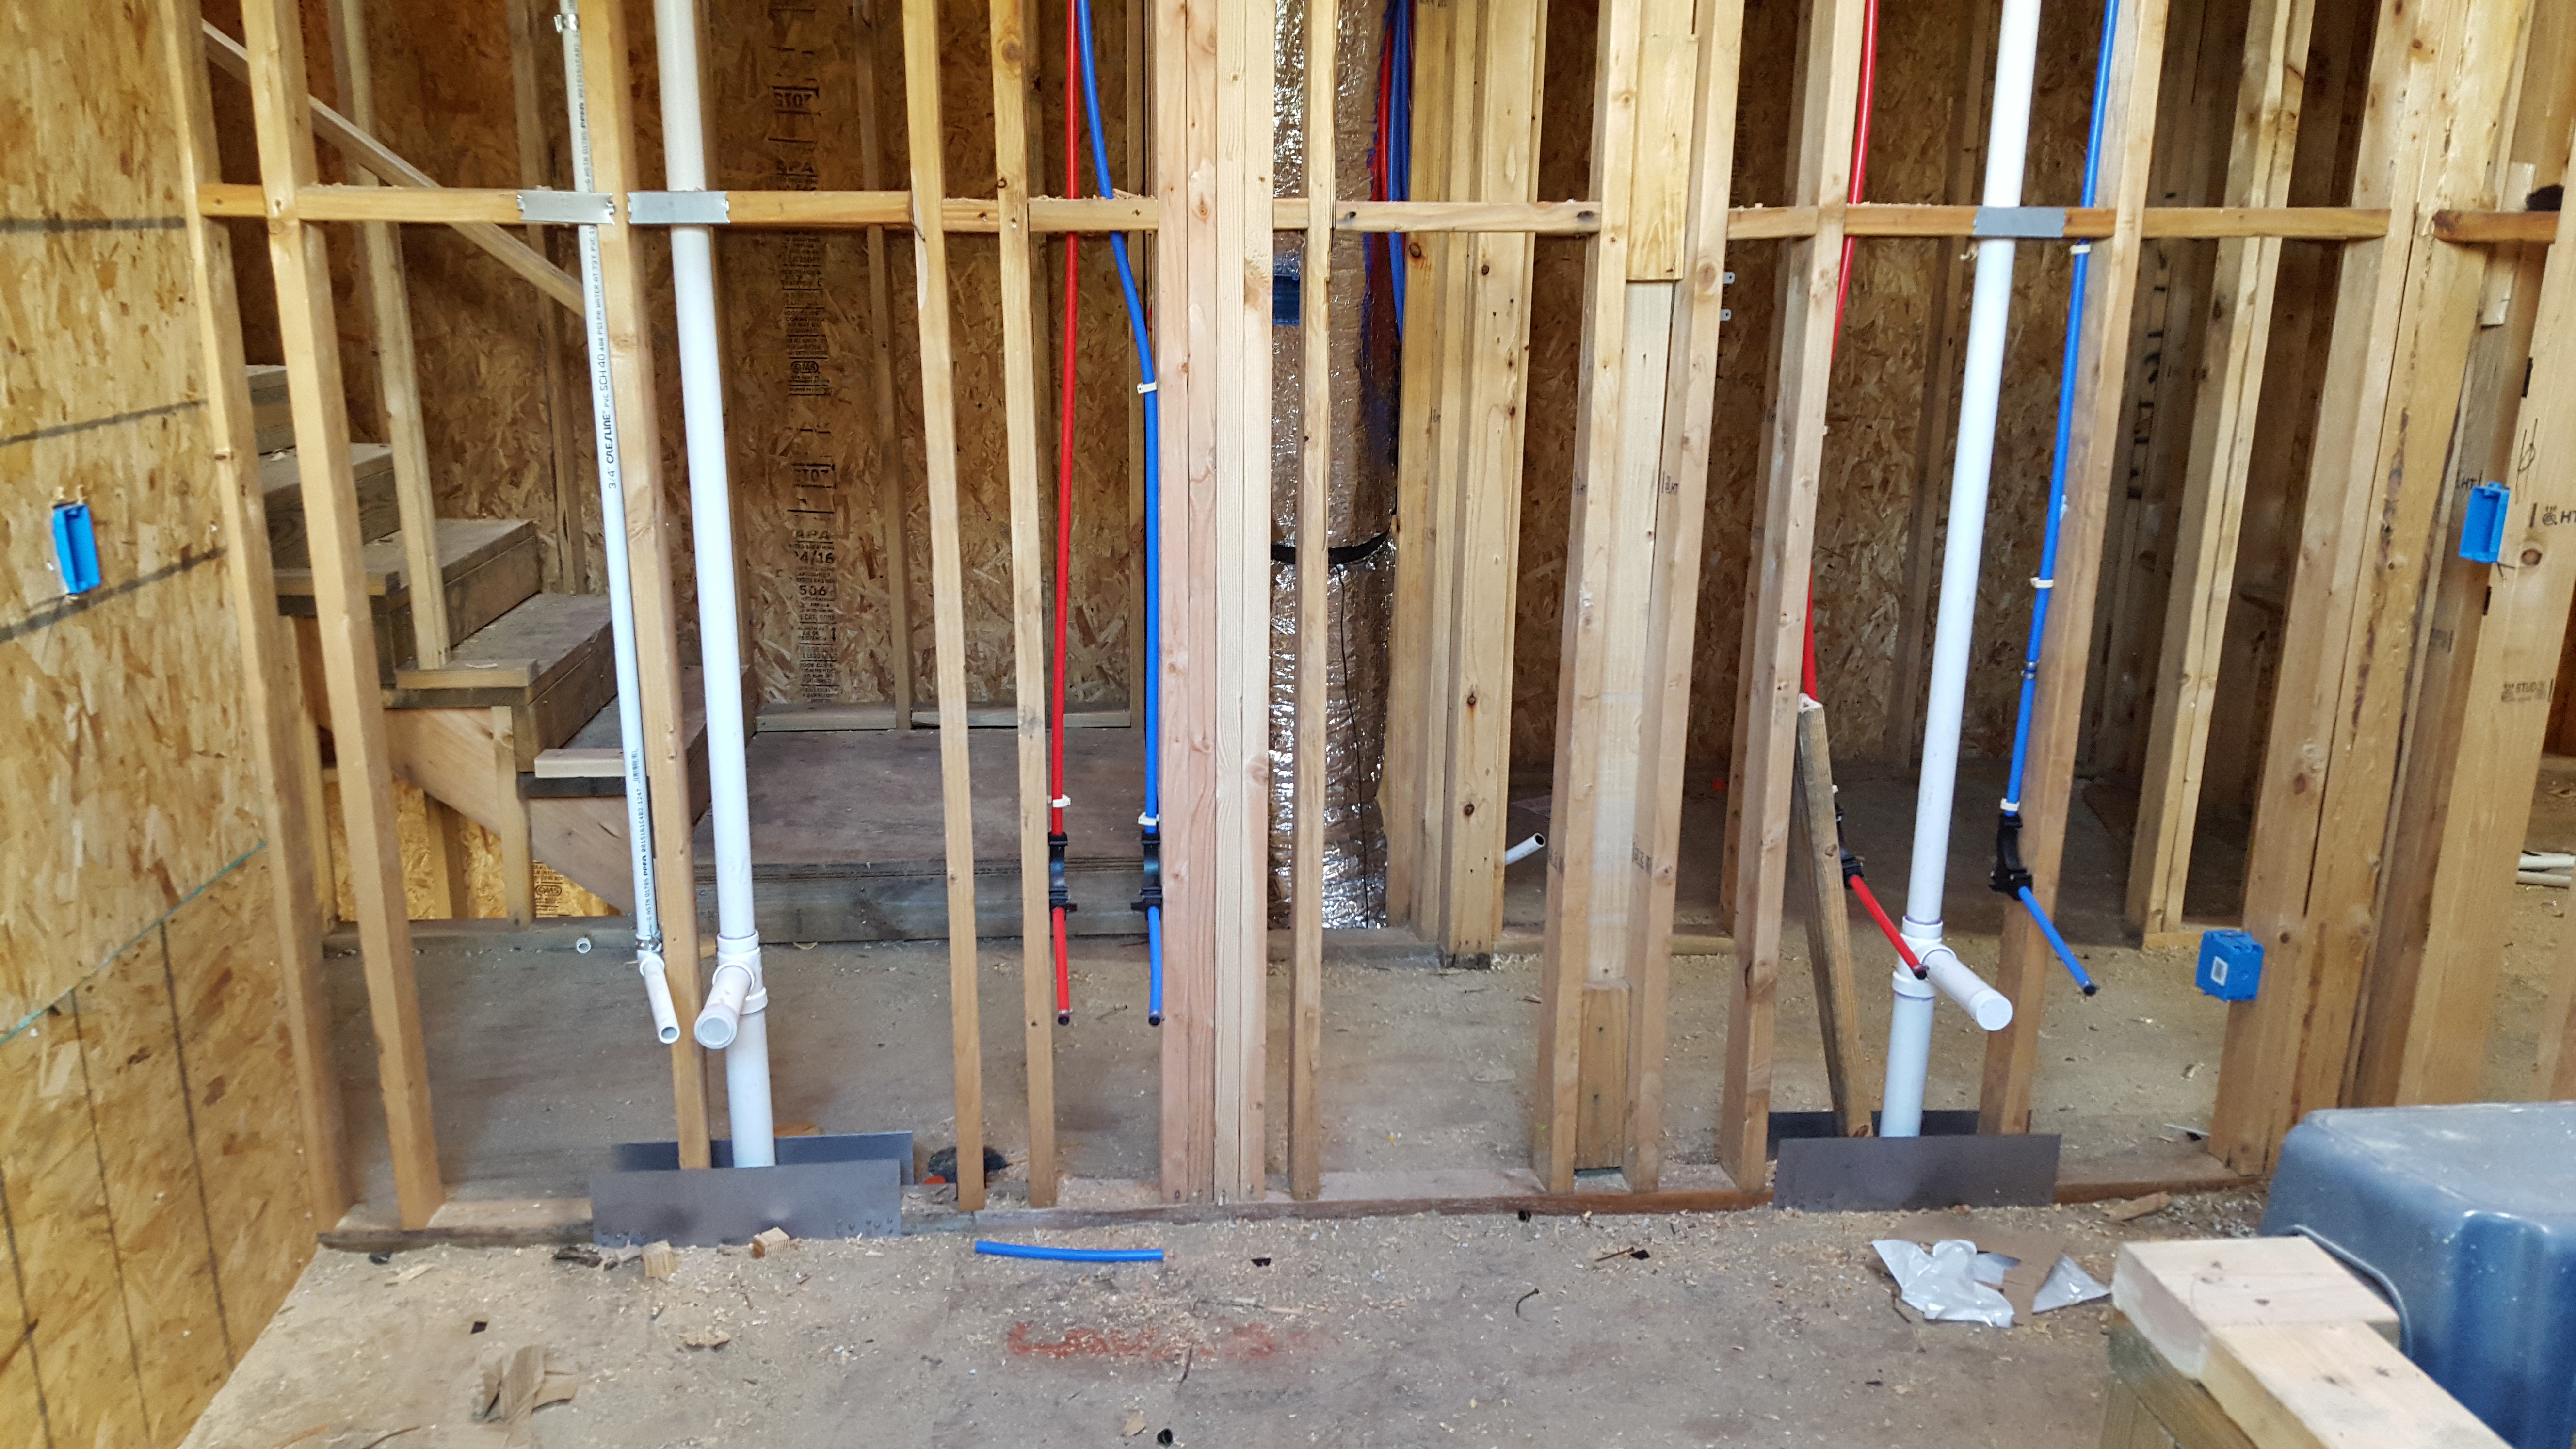
This pictures shows a rough-in shower valve. Since each faucet manufacturer requires a different valve, it’s necessary at this point to already decide on a manufacturer, if not the actual shower faucets that will be installed in the house. For this floor plan, there are 4 total. One for each of the two secondary bathrooms and 2 for the master: 1 wall mounted and one rain head.The master bath sink area. The pex water supply lines (more on that below) are red for hot and blue for cold (pretty intuitive). The white are for the waste water and venting. Note that the waste water line on the left is not aligned with the supply lines. A casualty of a field change order. The plans show a linen closet between the two sinks, which did not make much sense and it’s clear after the framing is built. However, this little bit of detail did not get passed along to the plumbers before the job is scheduled. Need to follow up to get this changed now or we’ll have a problem after sheet rock.Based on the advice of an Austin area builder who keeps a blog as well, I decided to purchase these flashing panels and install them for this project. These are meant to securely protect the house from any water intrusion at point of entry of pipes, vents, etc. This example here shows a 4″ sewer clean out. The product is great and works as intended but the problem is that many different sizes of pipes require many different flashing panels. Also, sometimes the pipes do not stick out far enough for the rubber gasket to seal around it, make the product useless. I check today and Tyvek, the manufacturer of the house wrap, actually recommends only using flexible window tape around pipes. Not sure how totally necessary this is, but with 4×8 fiber cement board butt joined over 4 story walls, I don’t want to take any chances.
2. Electrical Rough-in
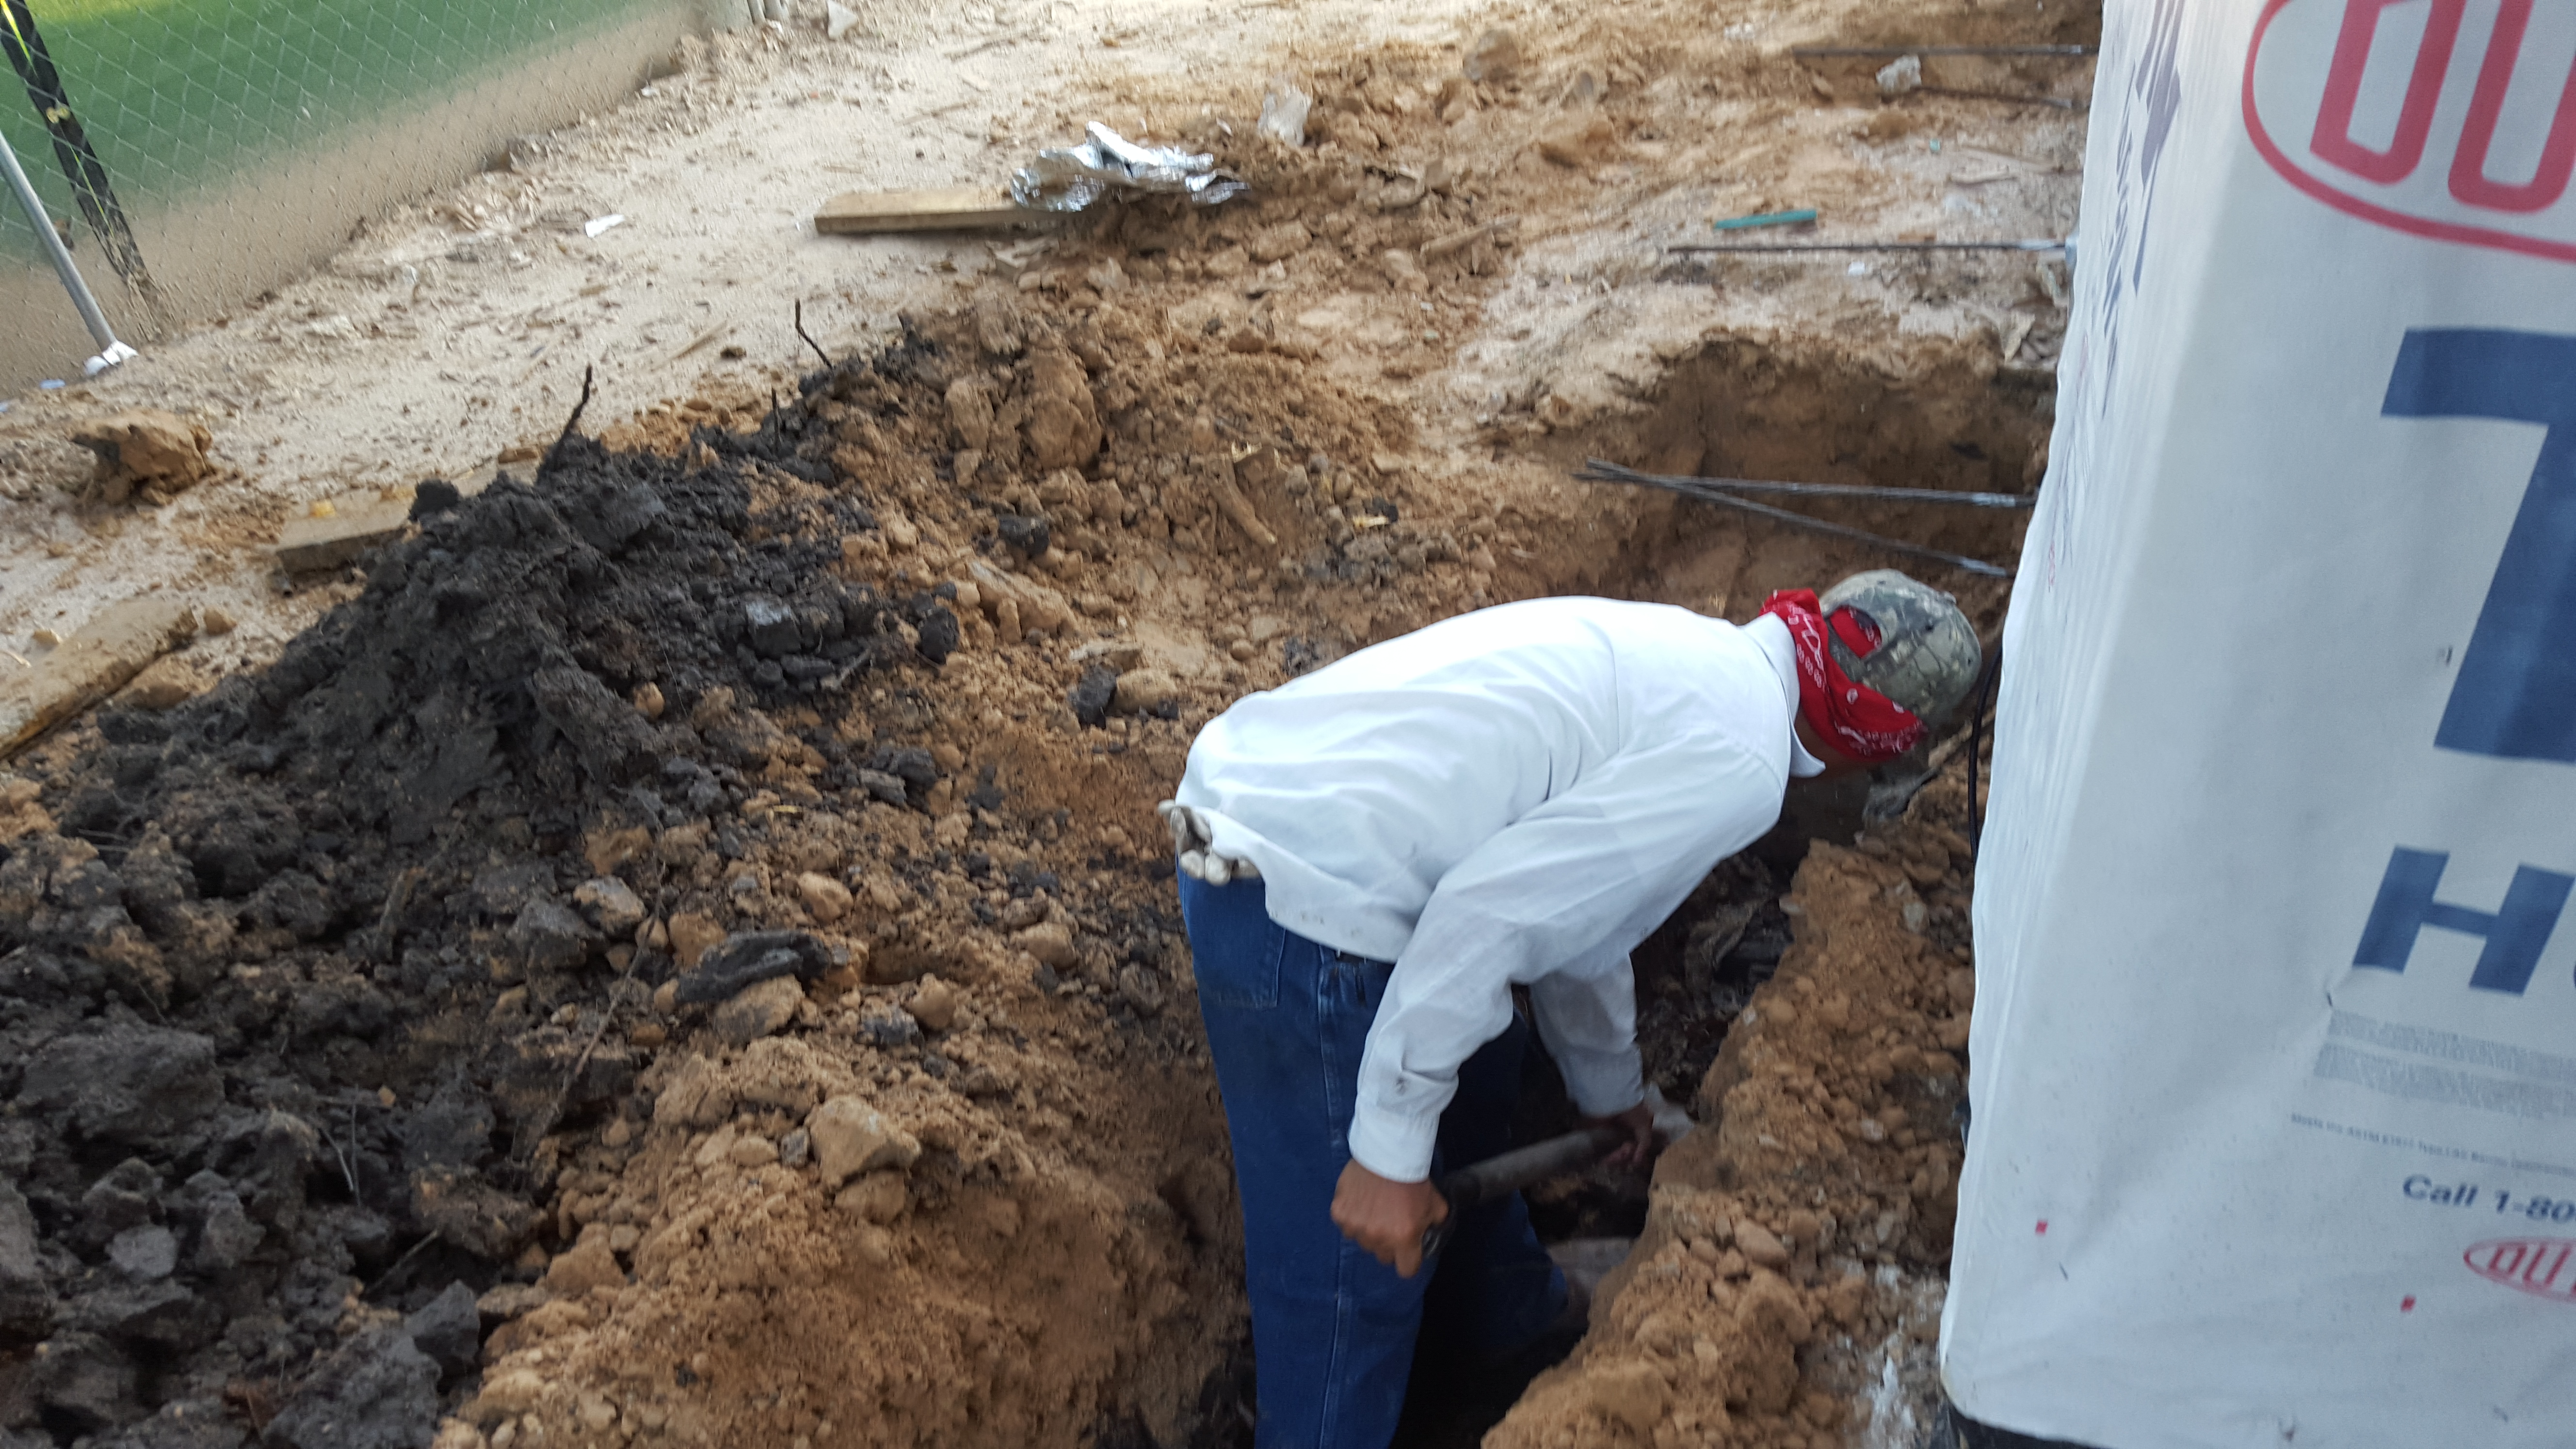
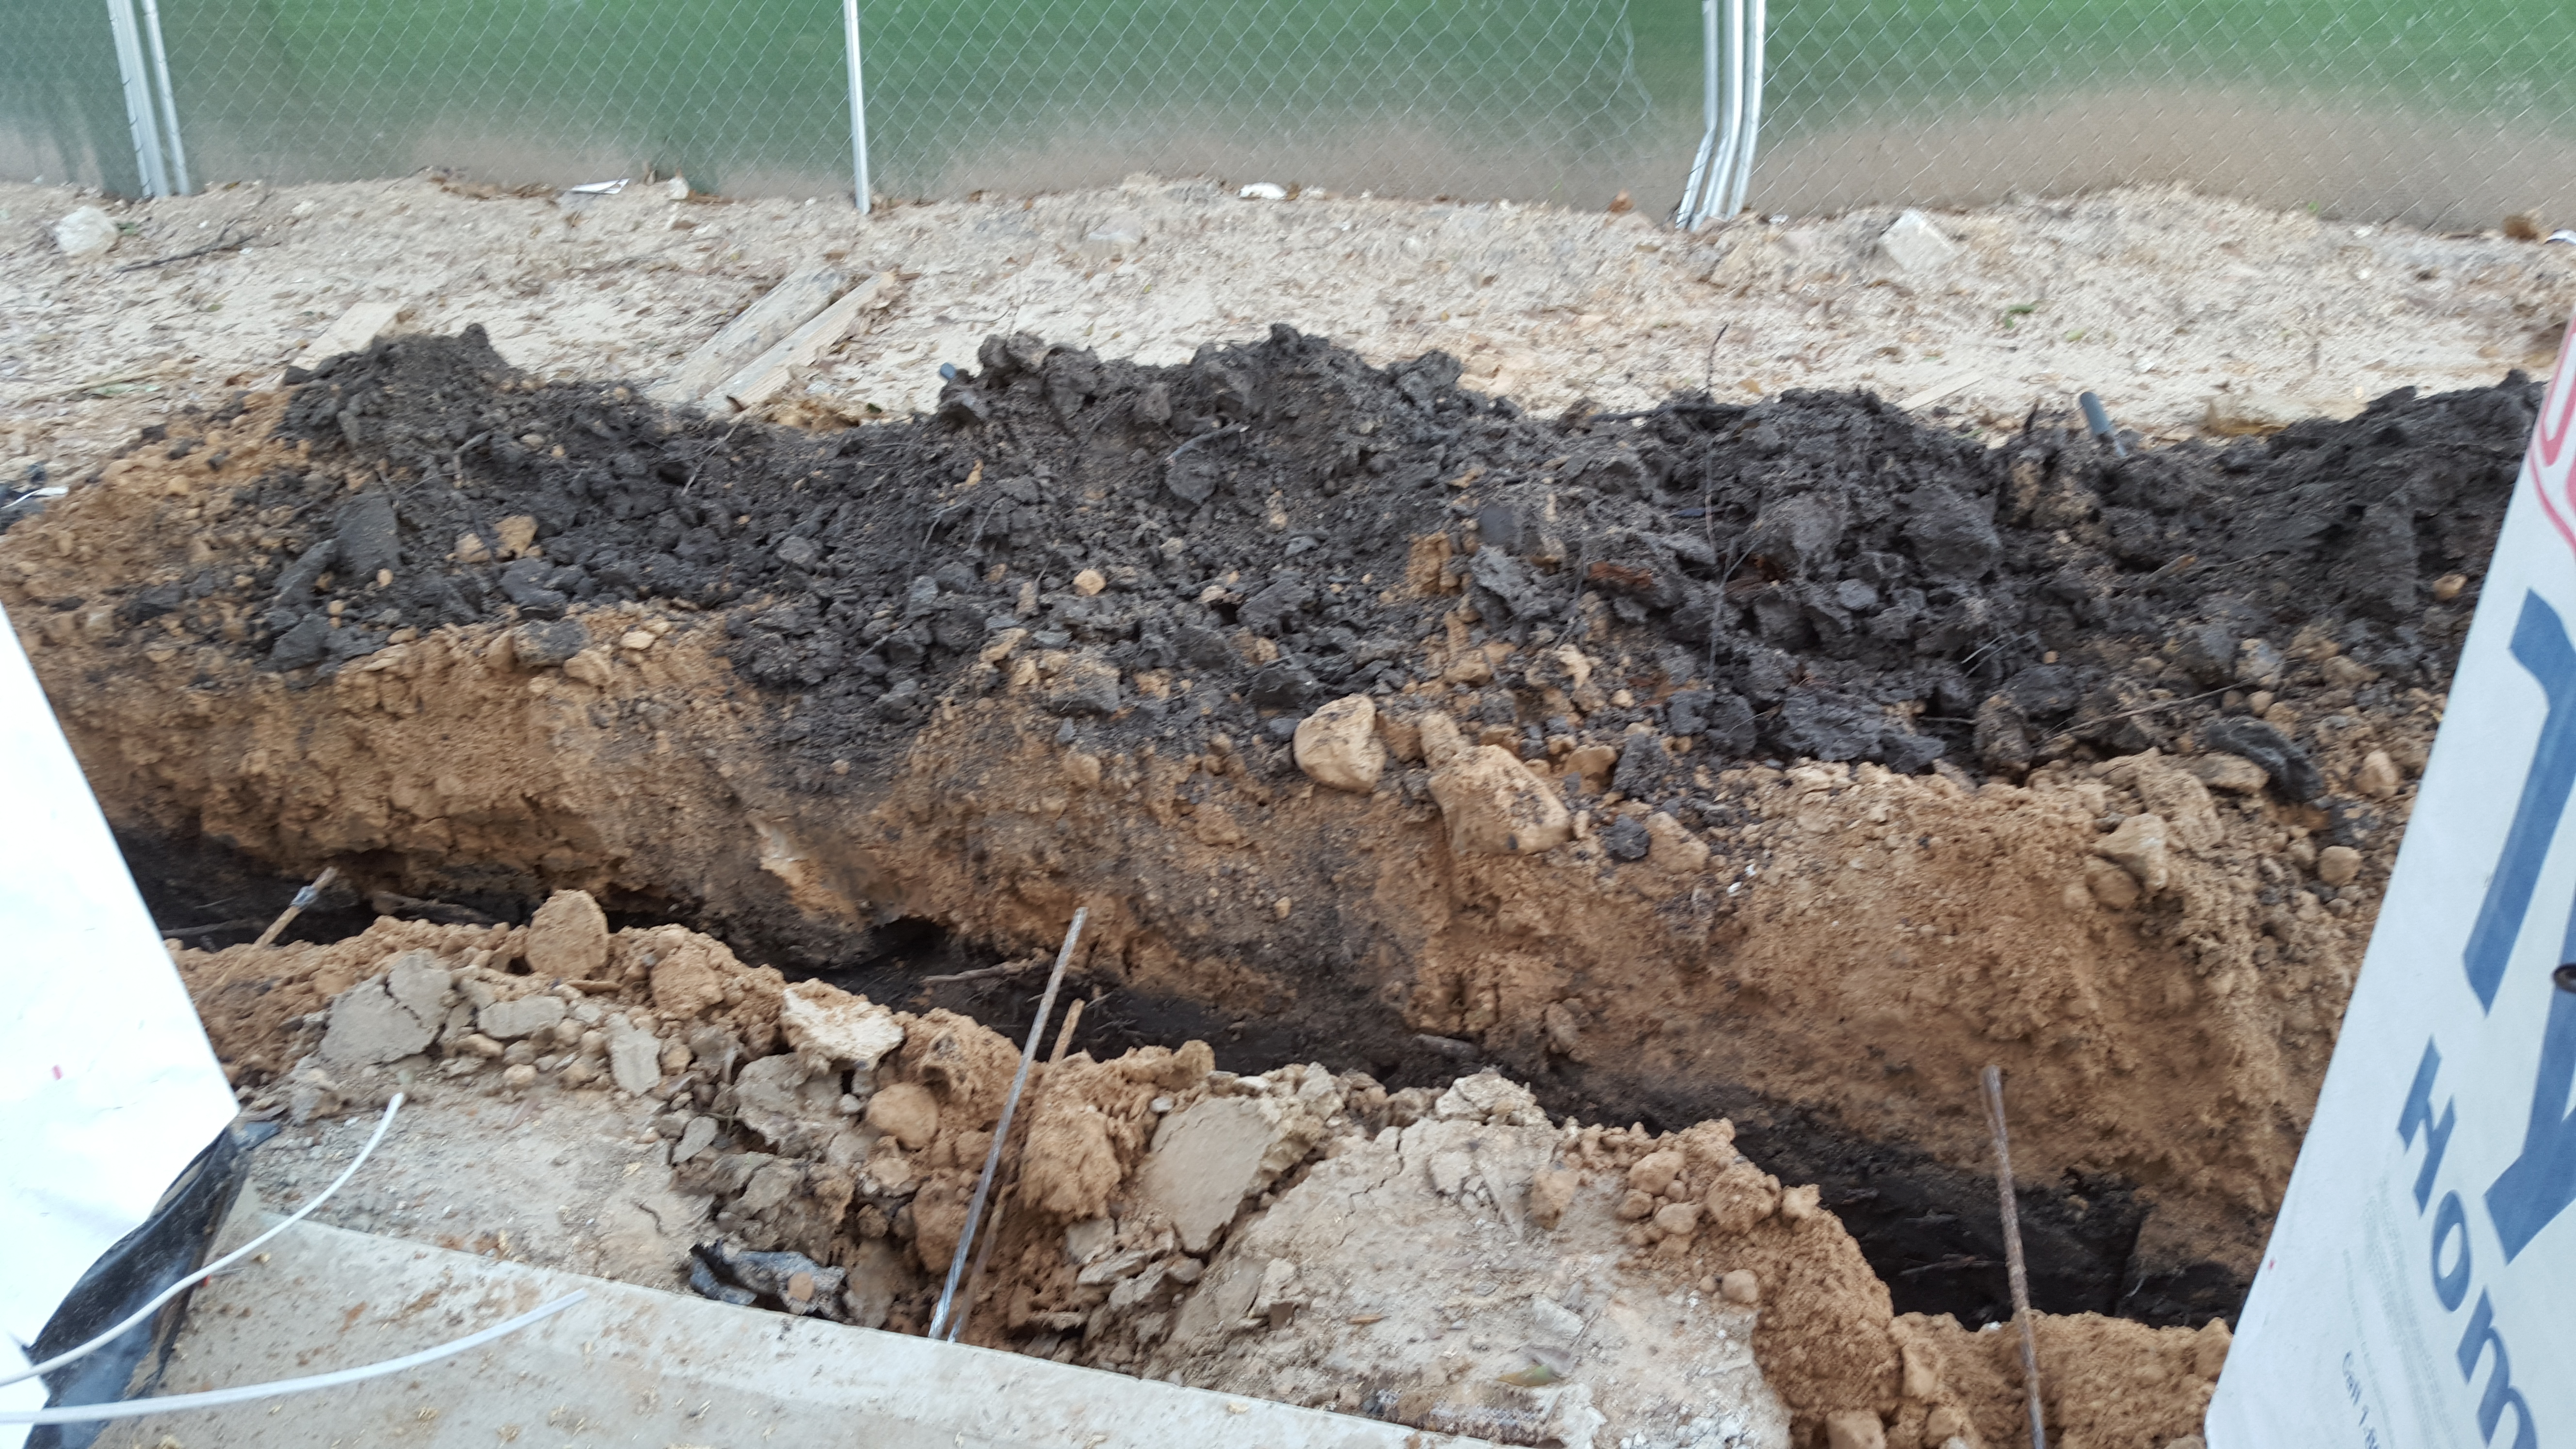
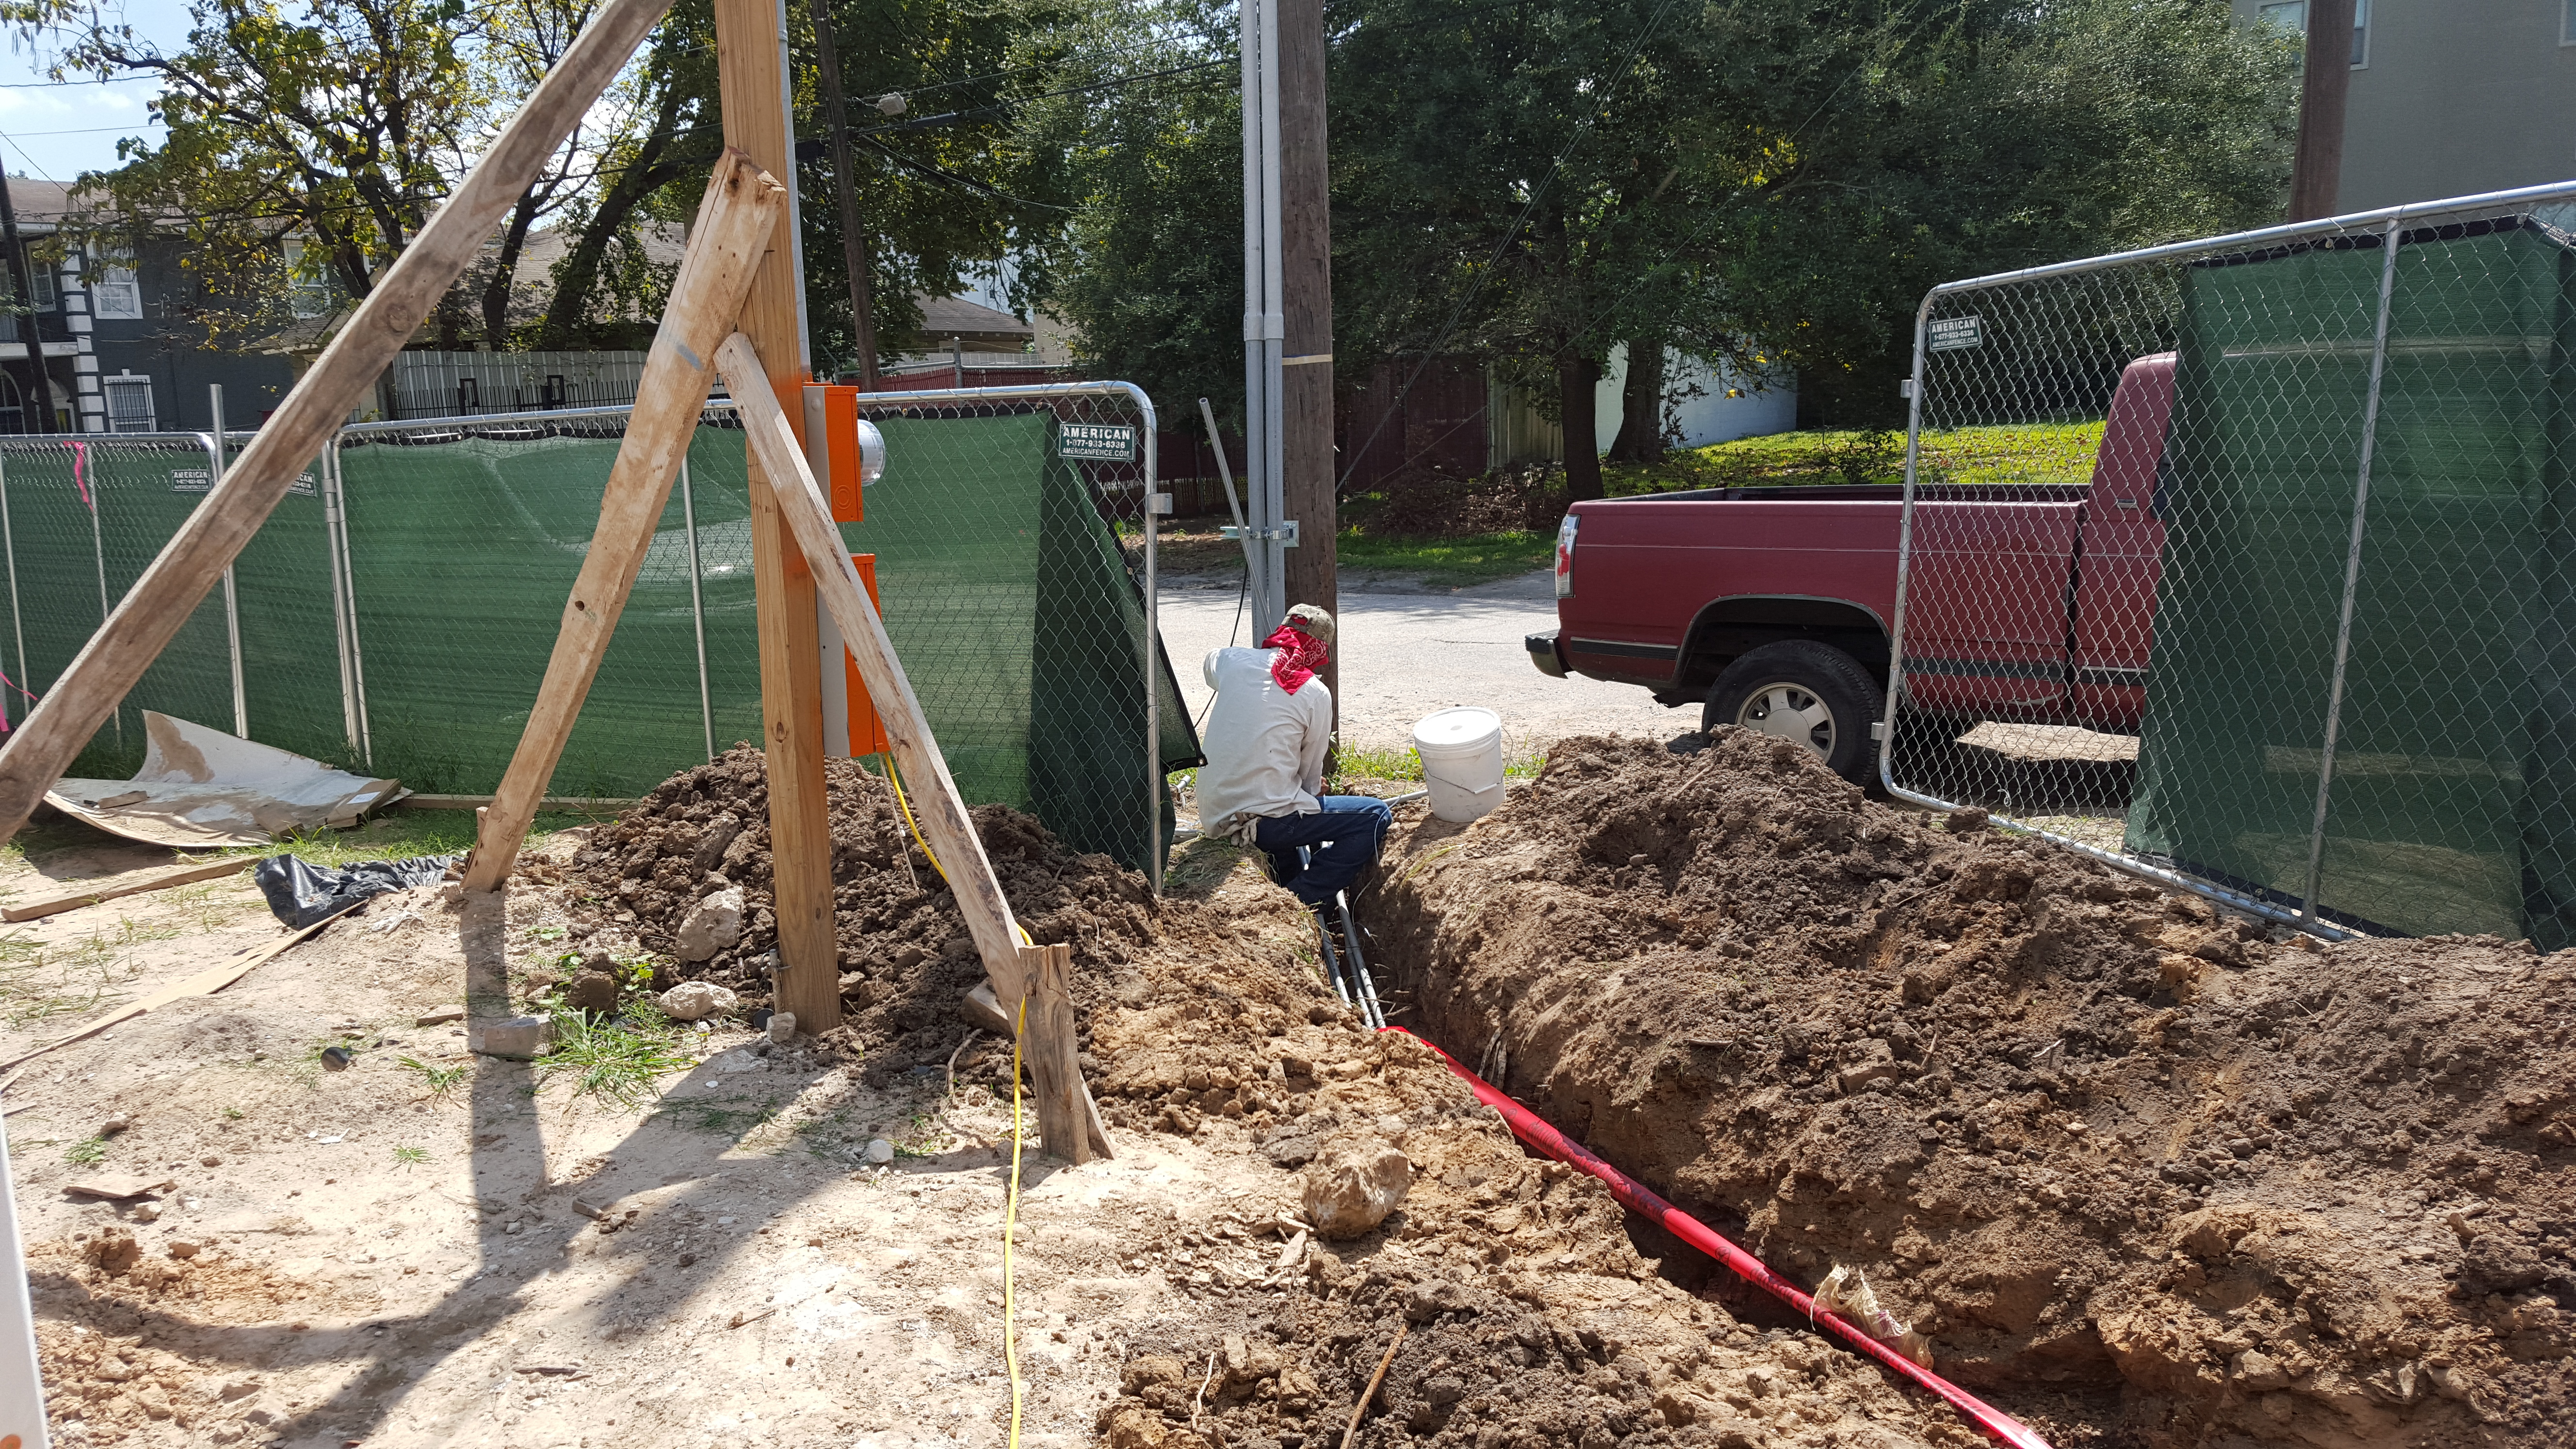
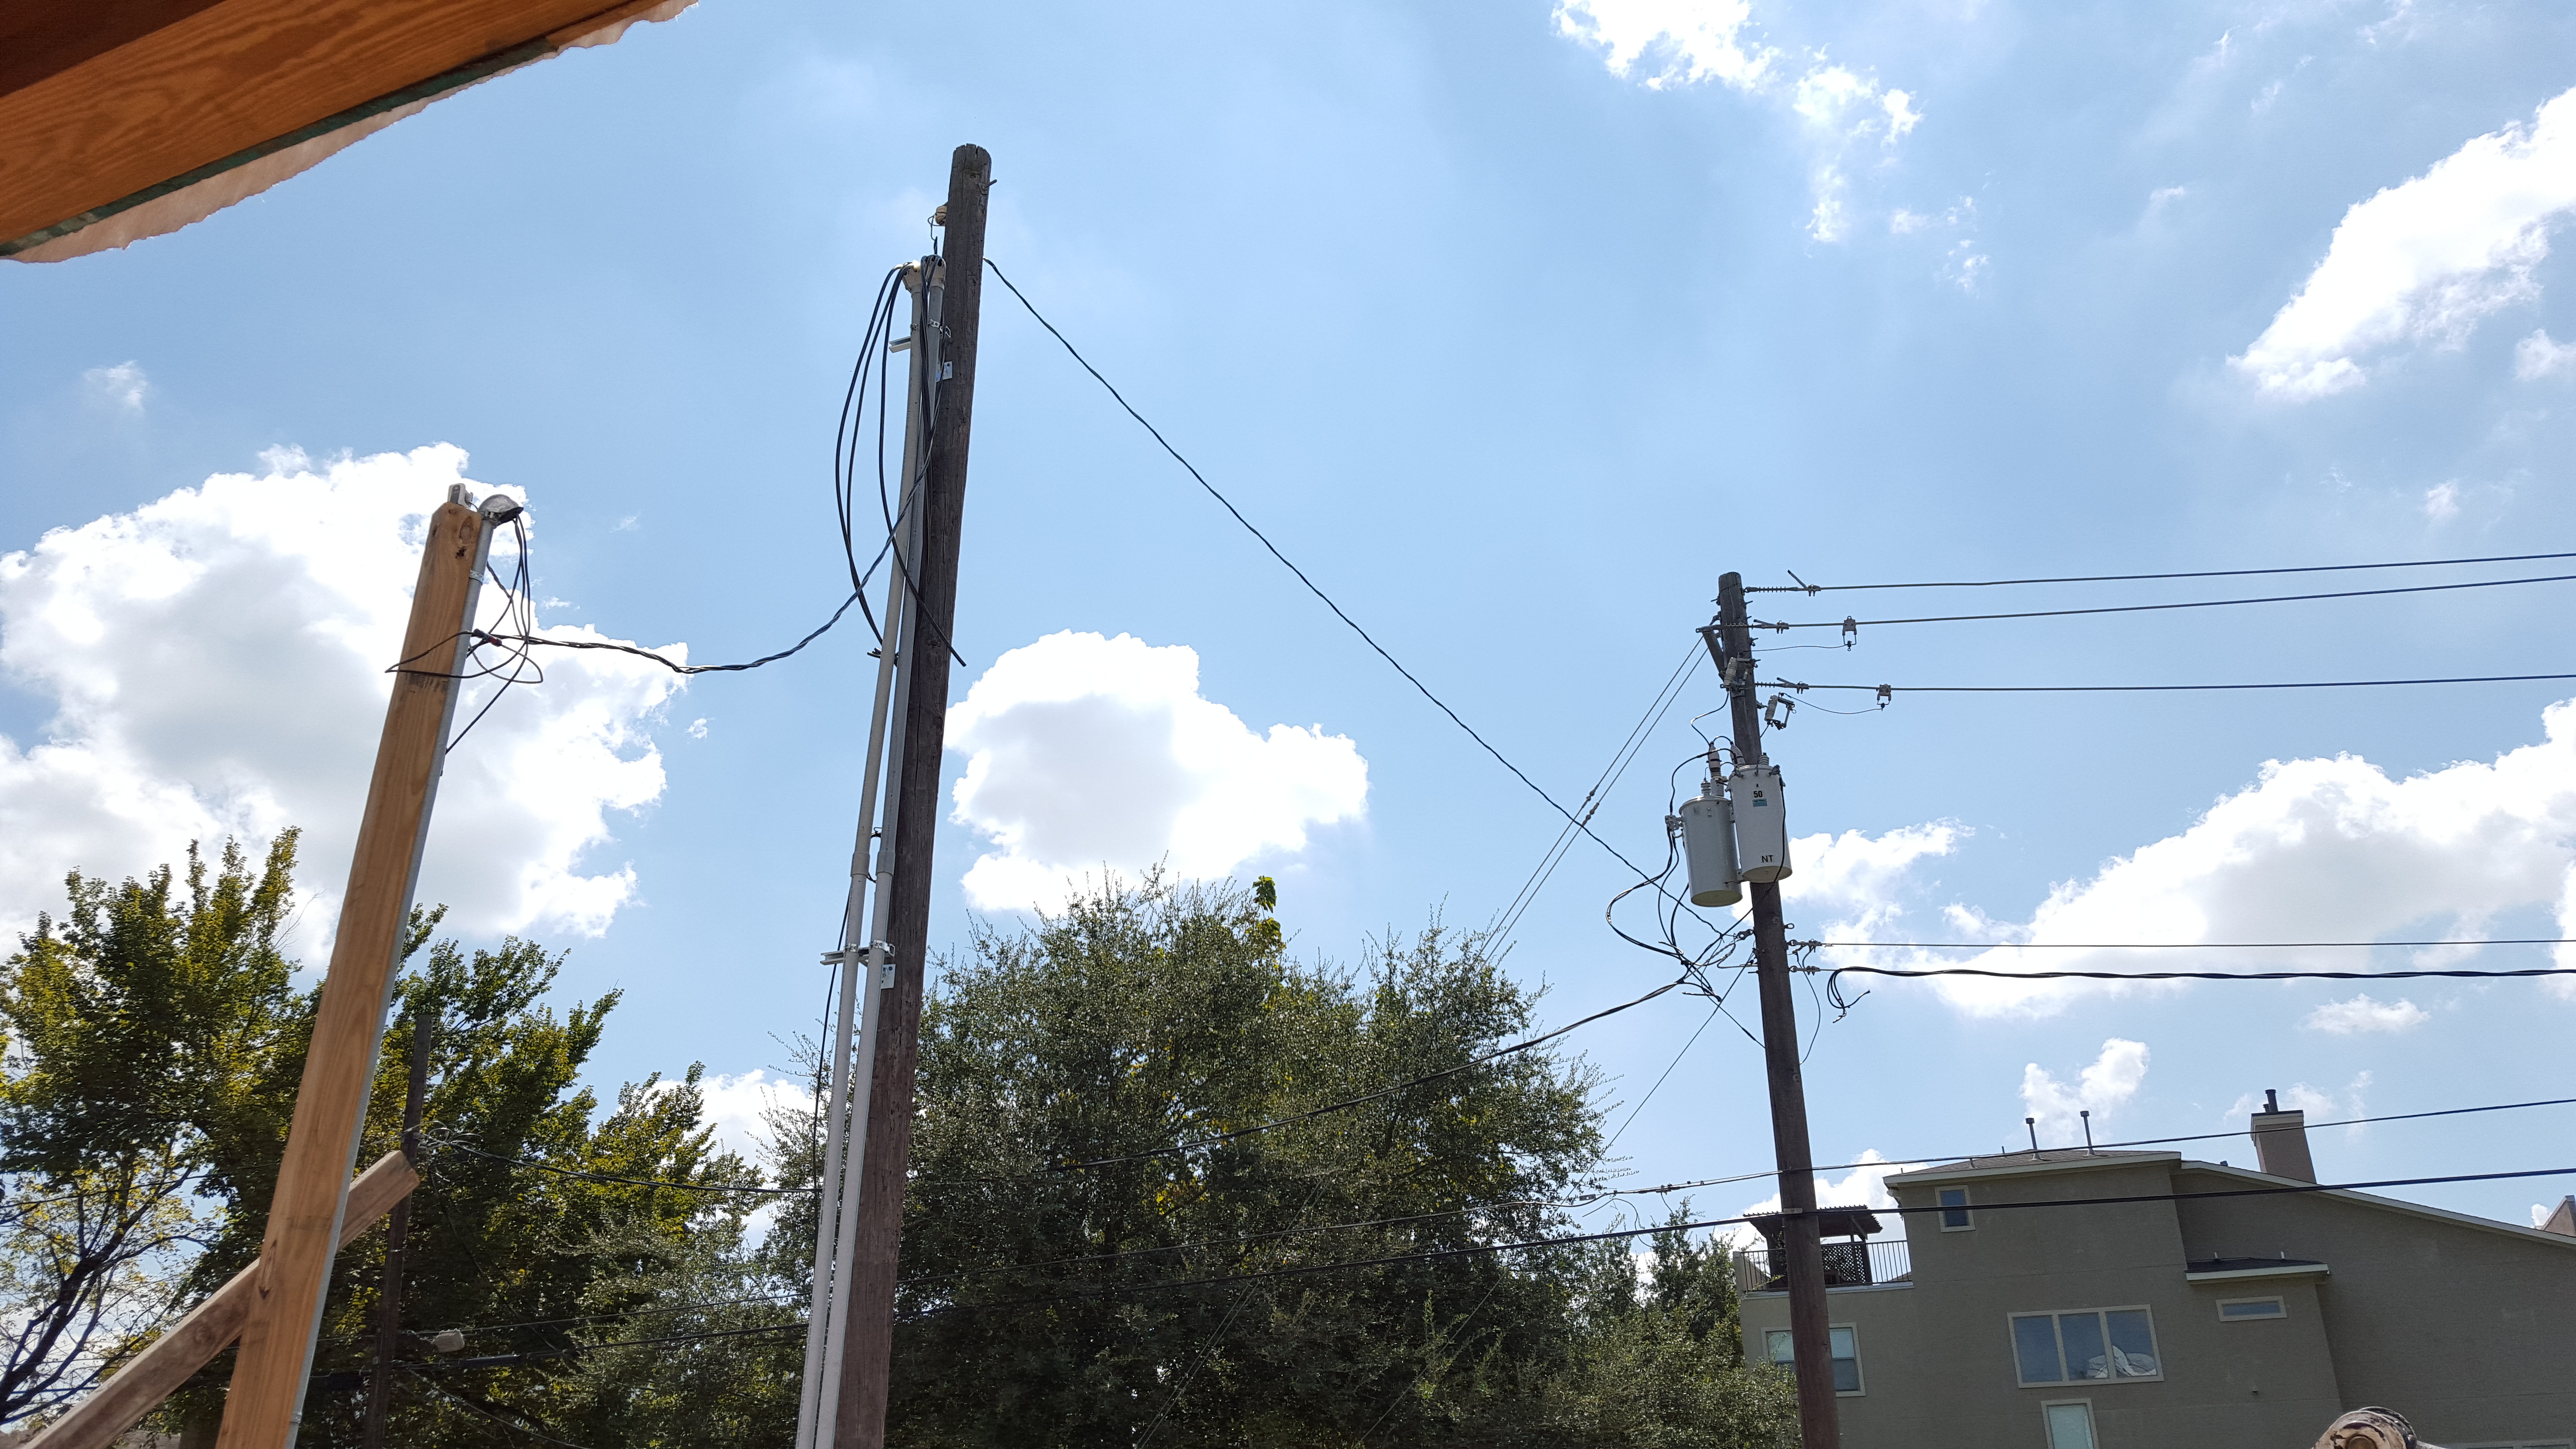
Getting power to the house involves physically finding a way to get a cable from the electrical pole all the way to the meter can installed on the side of the house. Since installing the meter right at the front would be real ugly and a big turn off for any buyers, we are putting it towards the back, behind the front door. That requires digging a trench from the electric pole all the way to the meter location and laying conduit.
After the conduit is laid and cable run through the conduit, this is what it looks like at the location where electrical power enters the house through the circuit breaker. Pretty ugly at this point. We’ll need to clean it up and make sure the pipes are as neatly installed on the house exterior as possible. Next time, we’ll try to place the circuit breaker in the garage. Second pictures shows view from inside.
3. Post-Tension Cable Stressing
Before the concrete foundation was poured, cables wrapped in plastic sheathing were laid inside the form work. These are inert strands of metal that will add incredible strength to the foundation once they are pulled tight using a force of 33,000 lbs. This is the same principle as lifting a row of books off a shelf by compressing them tightly together at the ends. Given that the cable is only 1/2″ in diameter, that’s over 168,000 lbs per sq. inch! Still, even that amount is only a little over 1/2 of the strength of the steel specified for the cable, at 270,000 lbs per sq. in.The cables are spray painted white before stretching and this shows how far the steel has been pulled and that it’s holding the tension in place. Once the inspection is passed, the cables will be cut and the holes grouted to prevent rusting.
4. Crickets
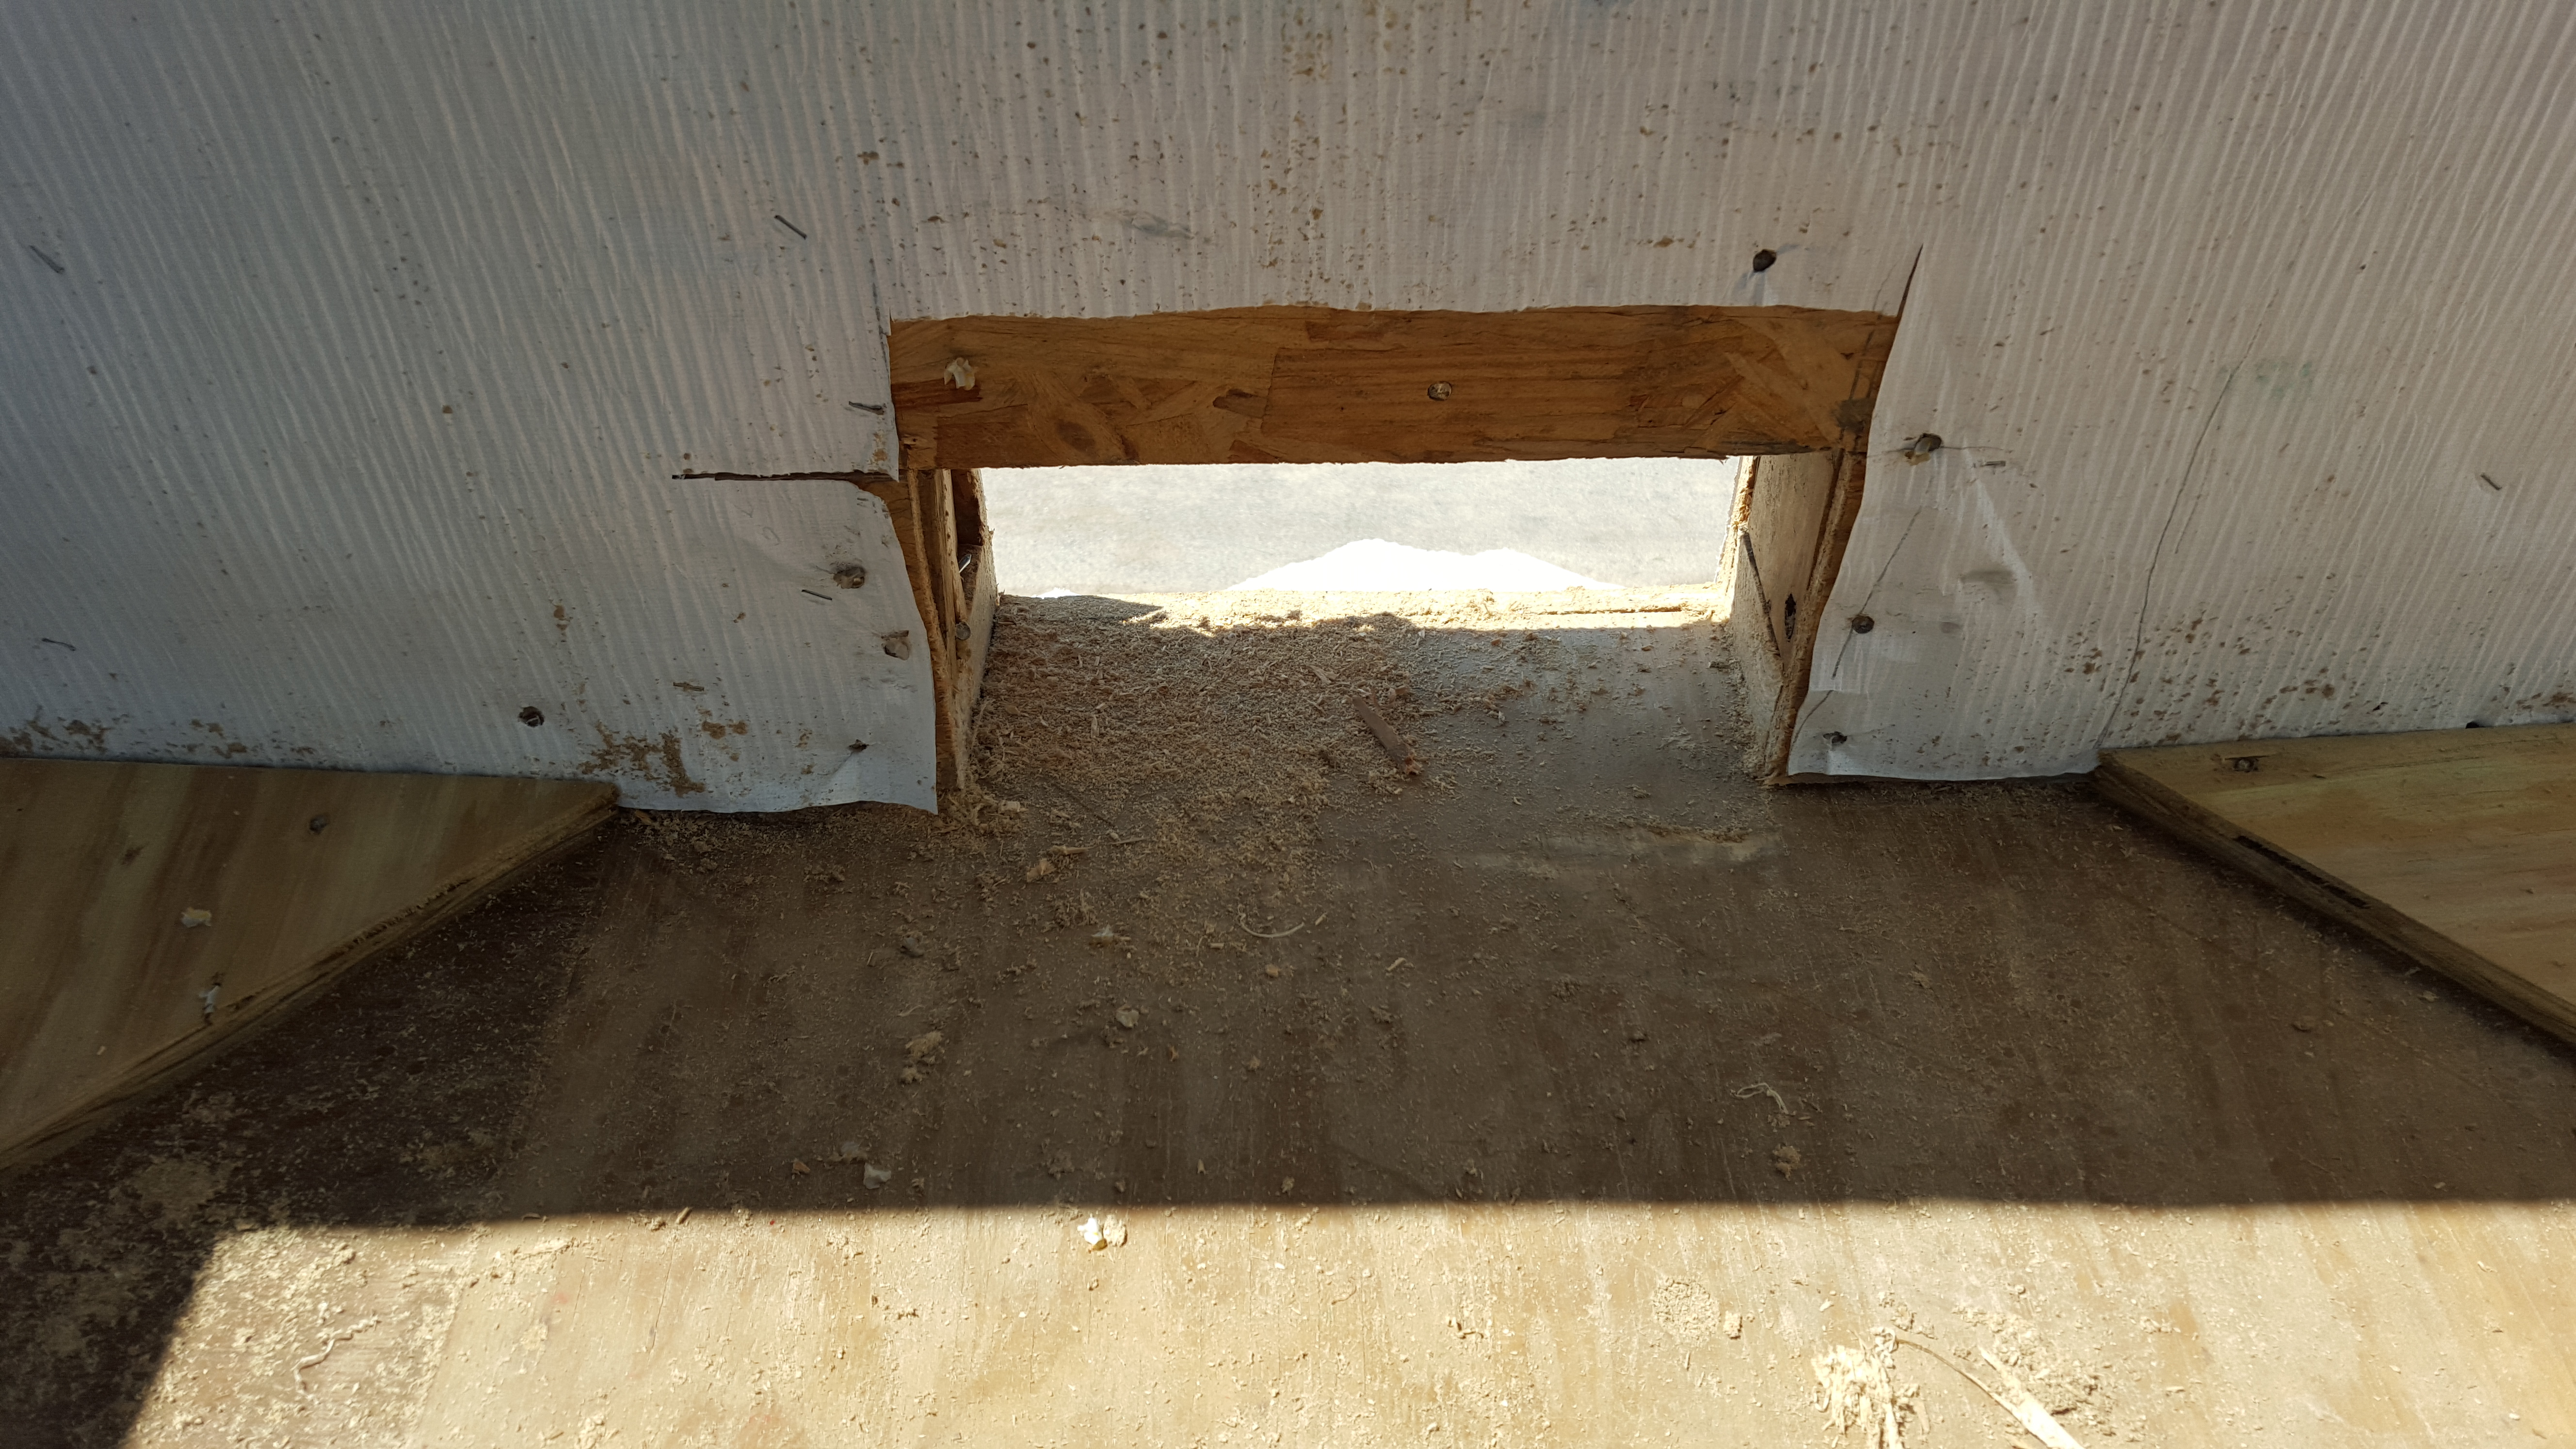
No, not the insect. Nor am I referring to the sport enjoyed by the English, Indians, and Caribbean nations with rules I will never understand. These are small pop-up peaks created on a surface to direct water where you want it to go. In this case, we have 2 balconies with what are called “scuppers,” a fancy word for a hole in a wall for water to shoot out of. The hole and all corners where wall meets floor will be lined in metal flashing to water proof the joints and a water proofing fluid sprayed over everything. This area was like a bath tub during a recent heavy rain event. Boy, was I glad to see these get put in!
Another important milestone today – the mechanical and electrical systems are starting to be installed. This includes the plumbing and HVAC (air conditioning) as well as the outlets, light switches, recessed lights, and other light fixtures. The security system, phone lines, TV lines, and internet wiring is considered low voltage and will be installed by yet another vendor.
At this stage, the builder’s role as coordinator between different sub-contractors is more important than ever. You have several trades coming together to “utilize” a limited amount of space (inside the walls and ceilings) to layout their pipes, conduits, wiring, boxes, etc. There’s a lot going on and the challenge is to manage the competing interests of each sub-contractor while making sure that the decisions they are making on a micro level makes sense. Each vendor would like to complete the job as soon as possible and therefore the default approach is to always take the path of least resistance. It’s human nature. But that doesn’t always make sense. Just a small example is the plumber who installs his drain line below the ceiling to get around an obstruction, creating more work for the framers to build a fur down later, just because he didn’t want to put in a few extra elbow joints.
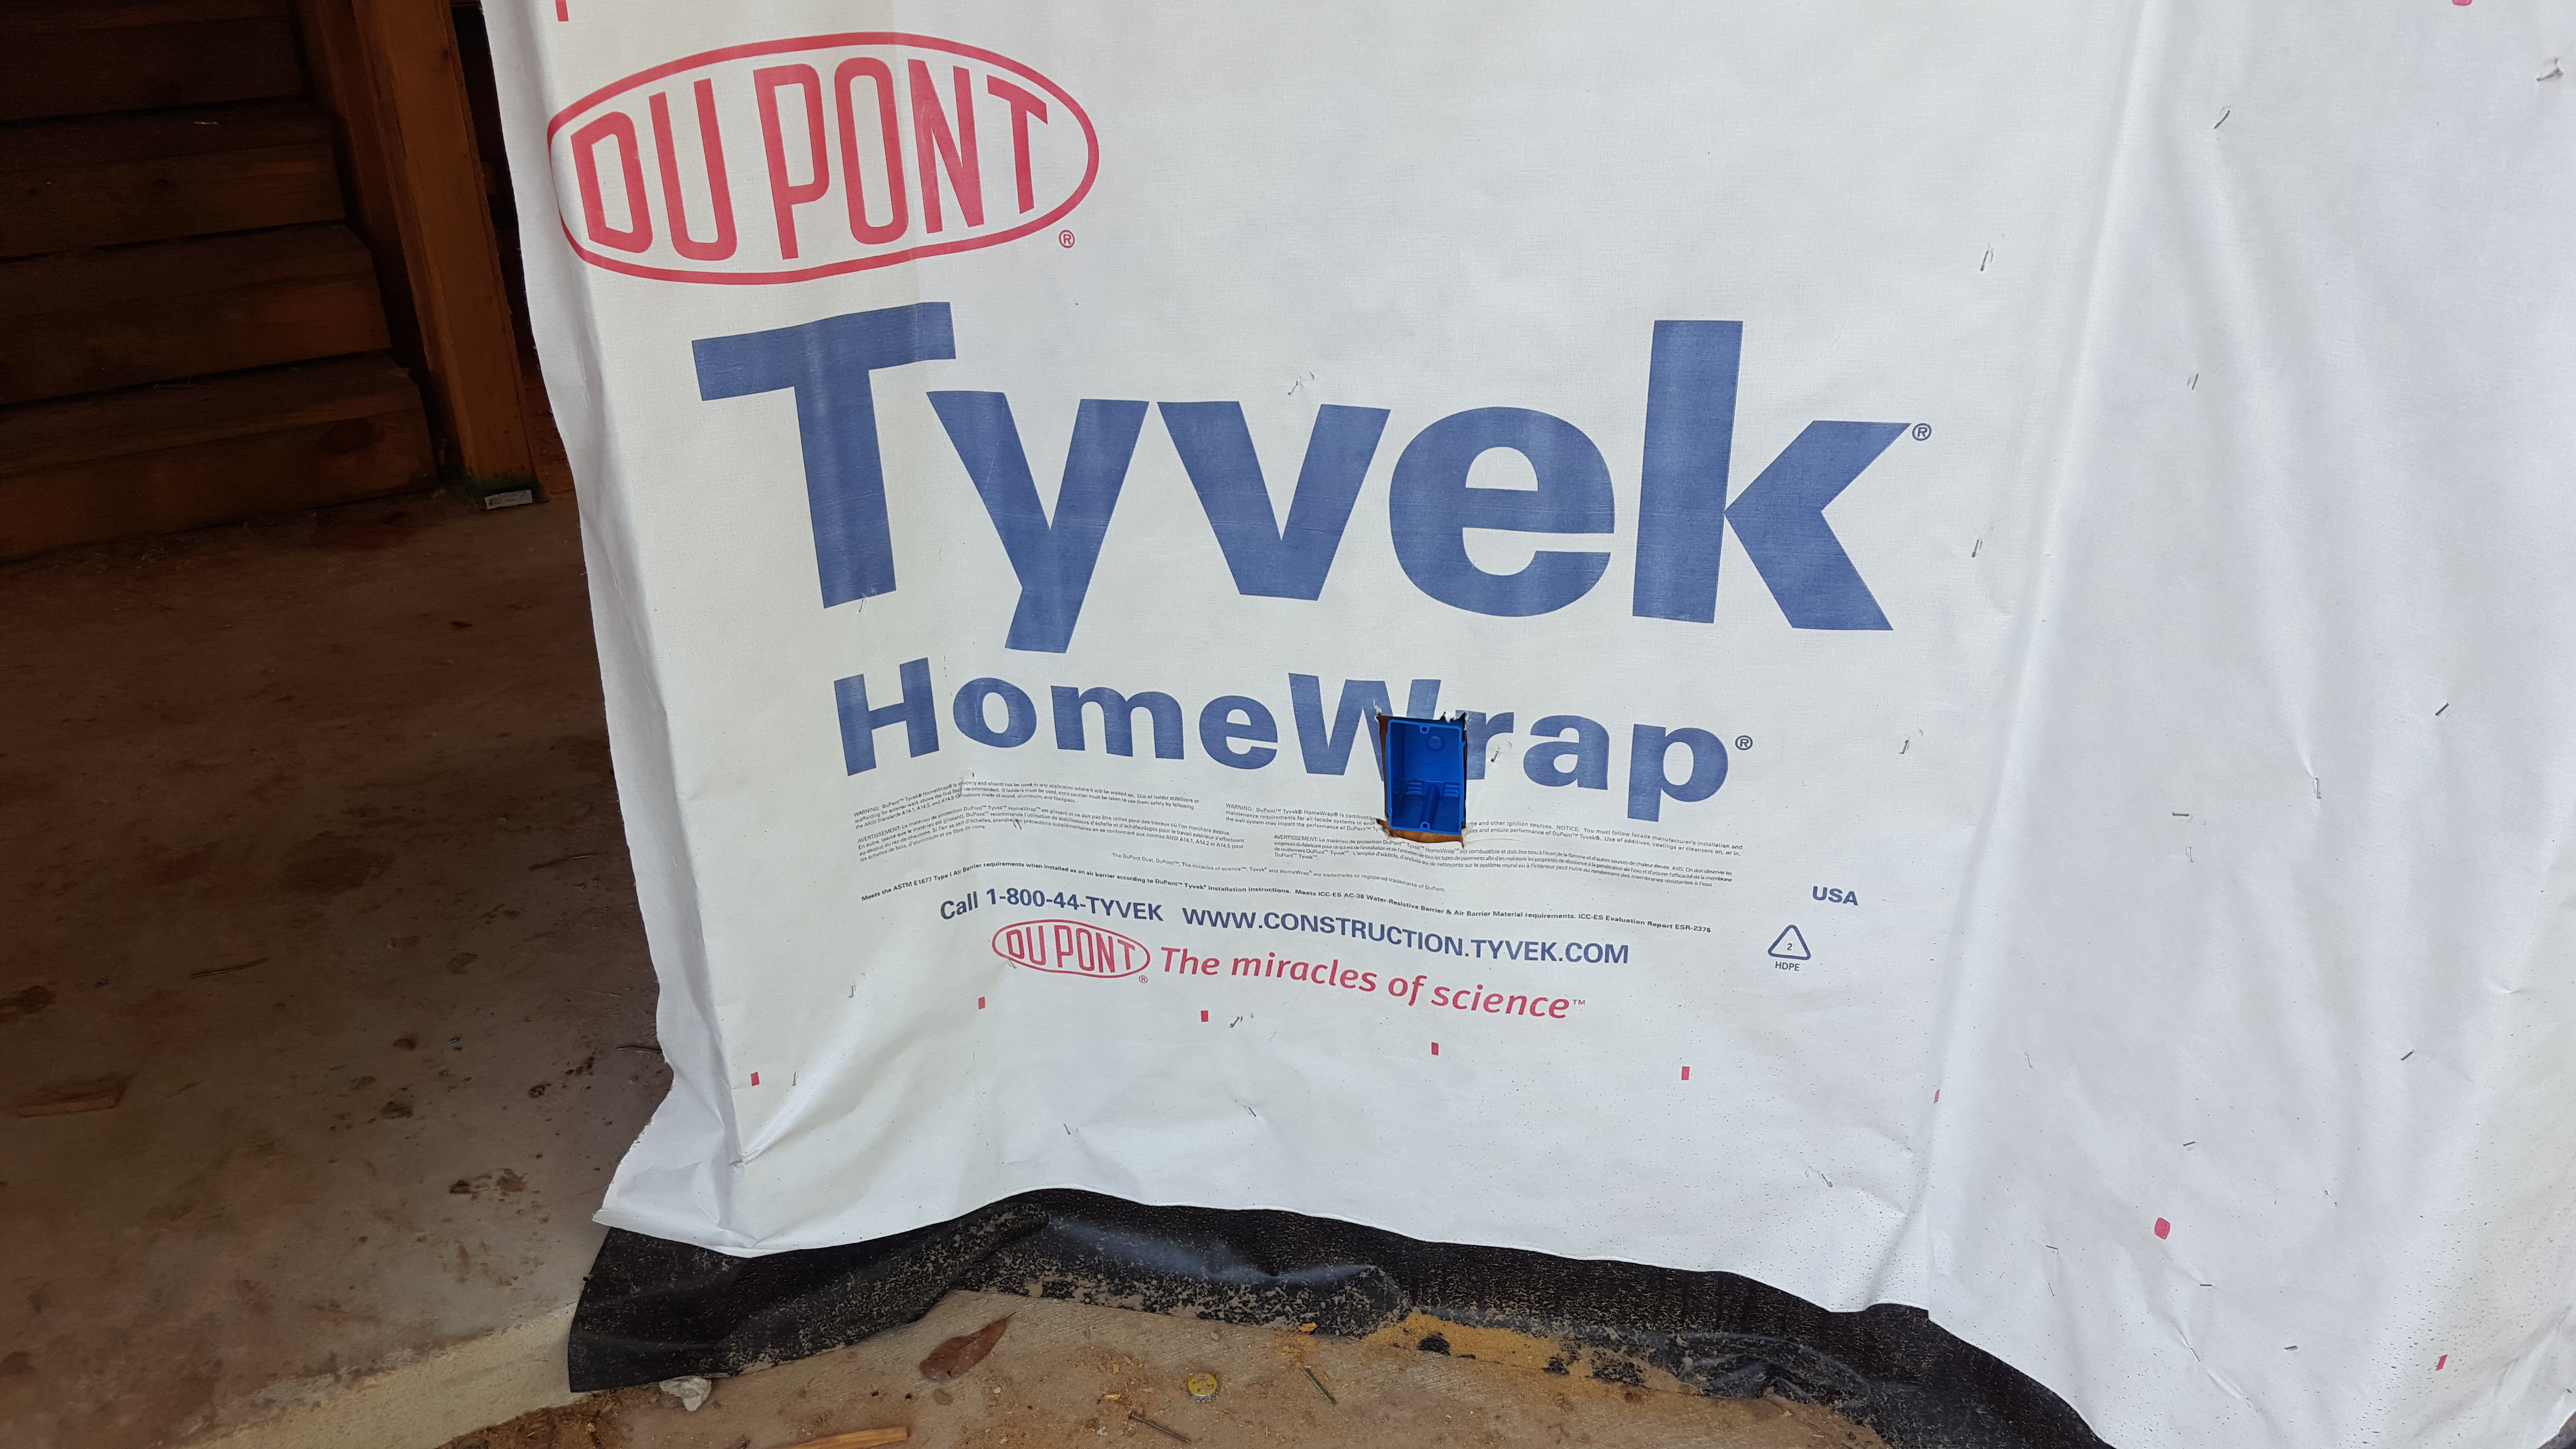
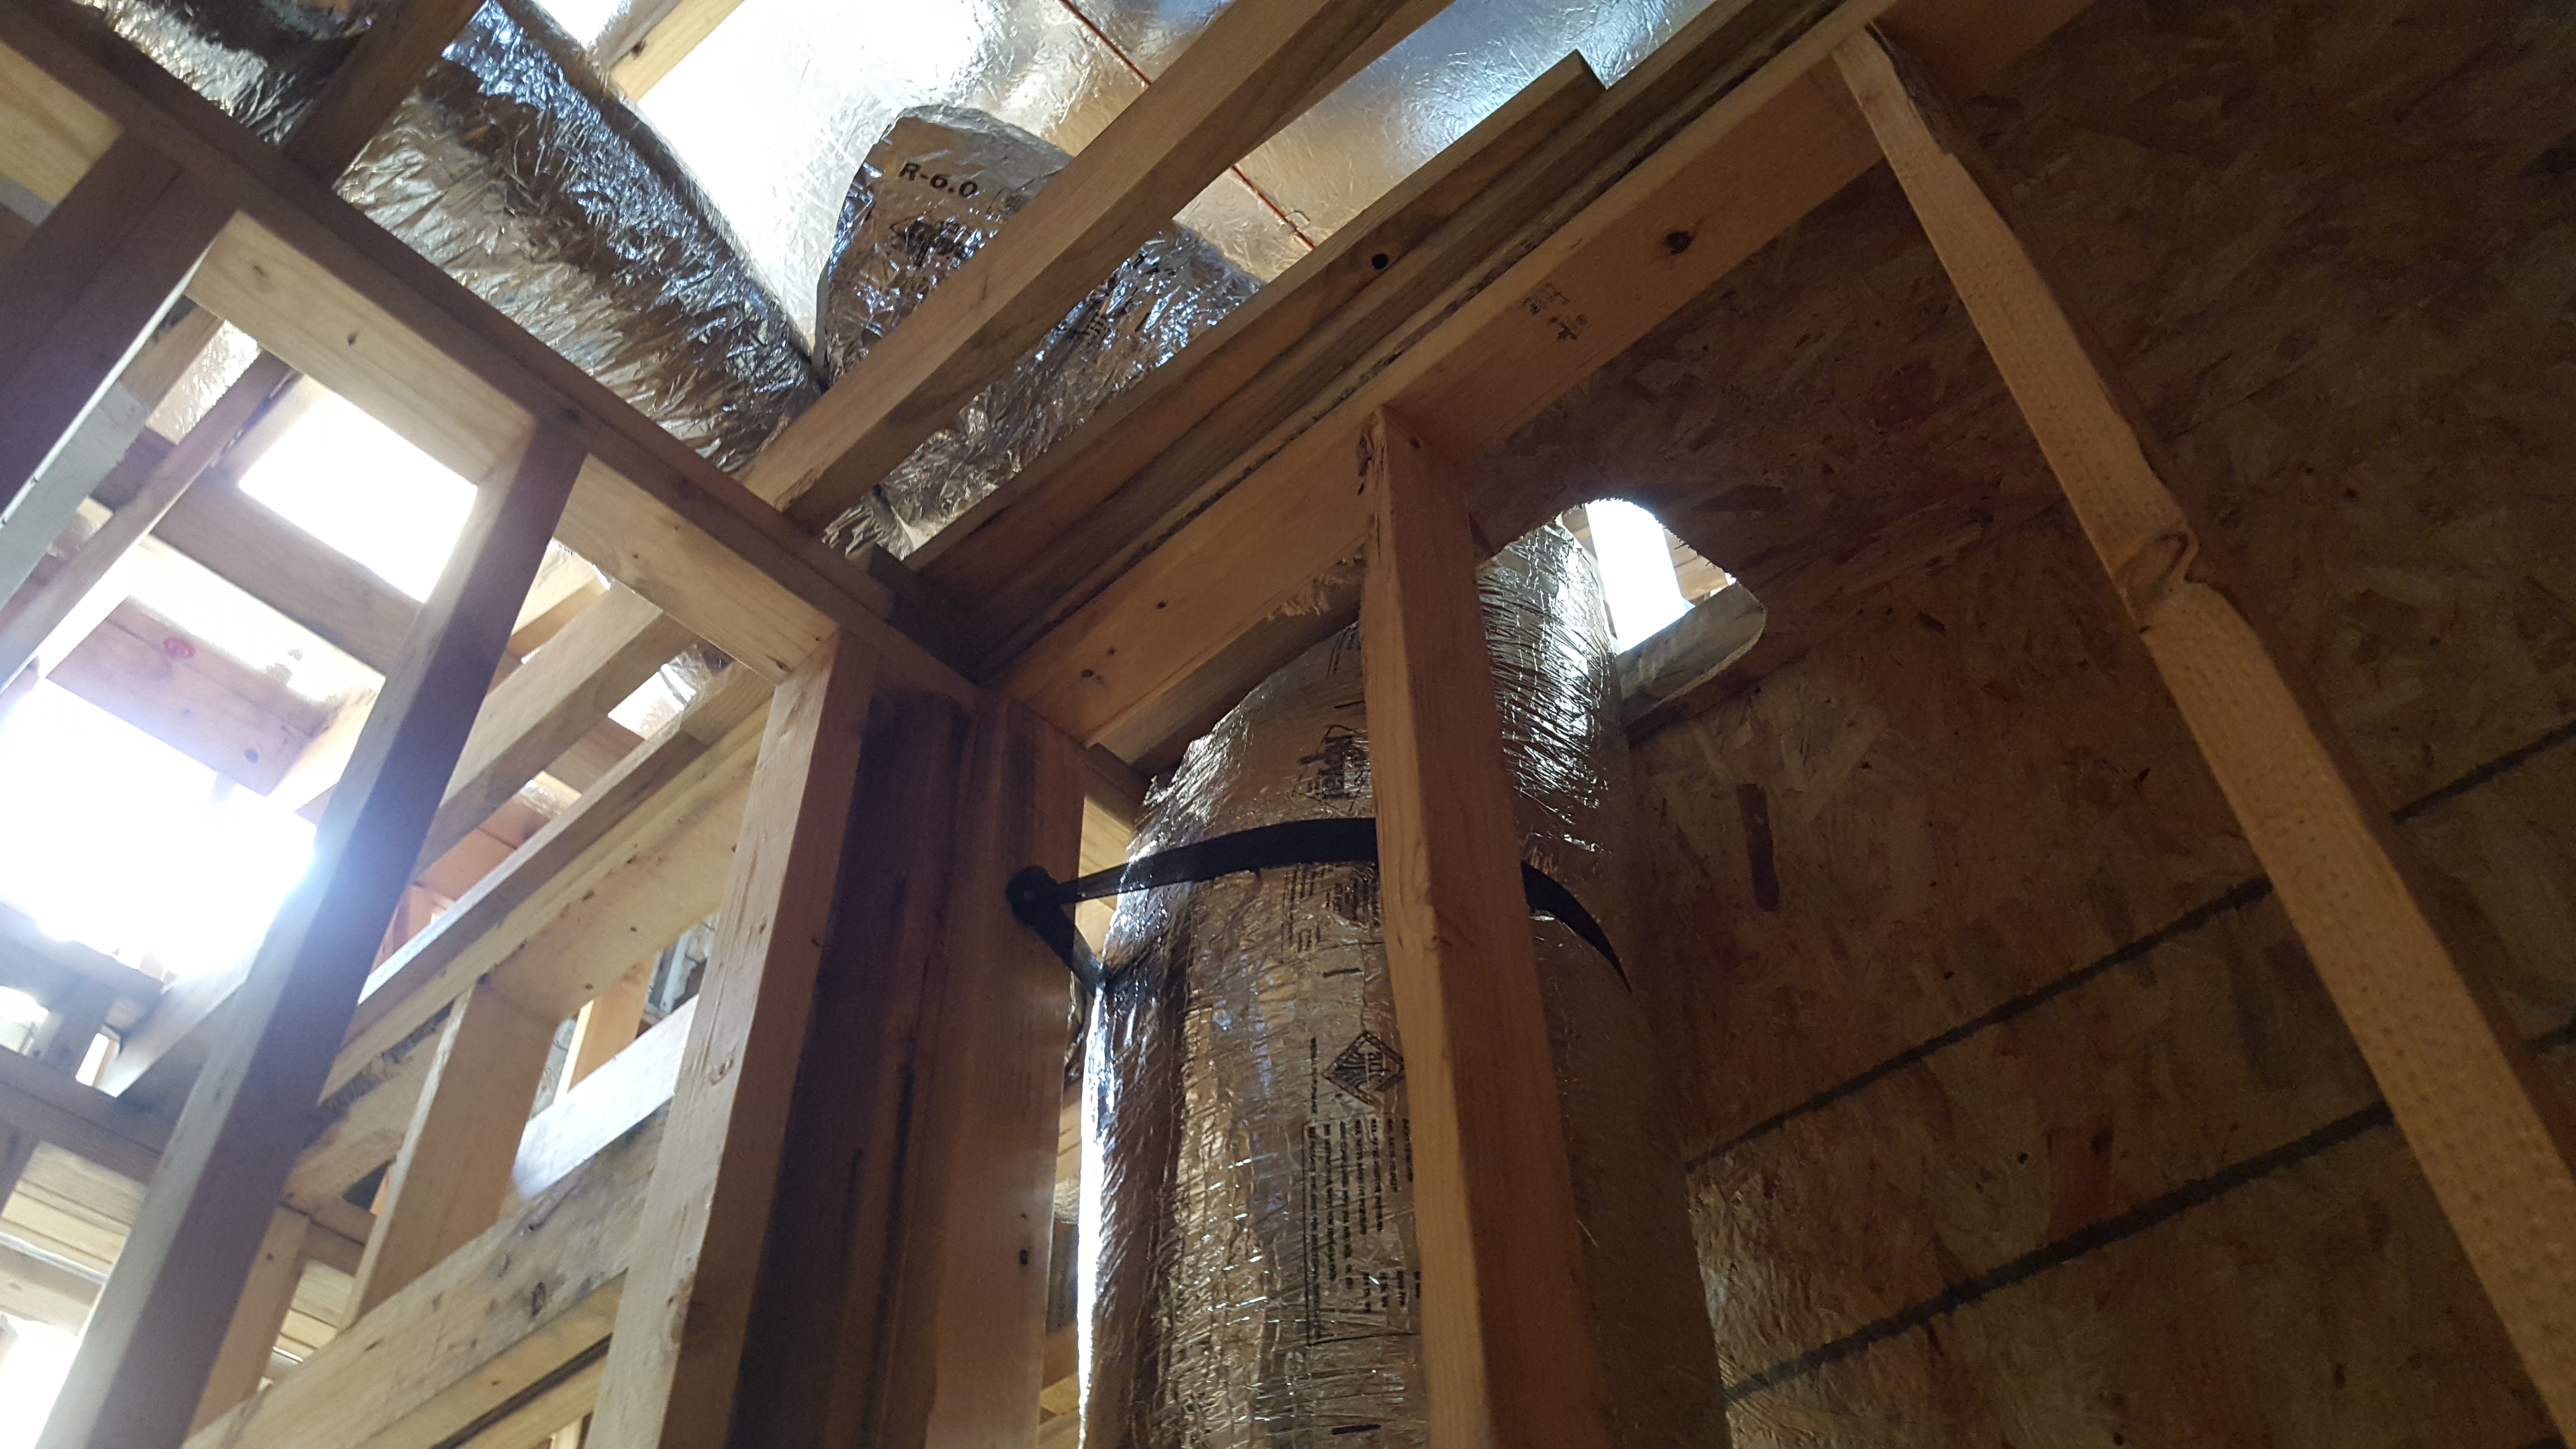
Exterior recessed lights. Check to make sure they are evenly spaced in the ceiling.Exterior wall electrical outlet box penetration. Need to improve the weather proofing here.Recessed lights and HVAC supply registers in the ceiling. Need to make sure nothing looks too goofy.Furnace and other equipment in the attic. The furnace vents through an approx. 10″ metal pipe through the roof. An item called a “roof jack” must go over the pipe penetration in order to weather seal the pipe. Otherwise, it WILL leak and damage the equipment underneath! The HVAC crew does not install the roof jack, the roofer does that. Therefore, this is an area that requires the builder to intervene and help coordinate.Flex duct run up a “chase” and through the floor above. The 90 degree turn there looks a bit too tight. Ducts do not like to be crushed like that, as it impedes air flow and decreases performance of the system. Another item to put on the sub’s punch list.
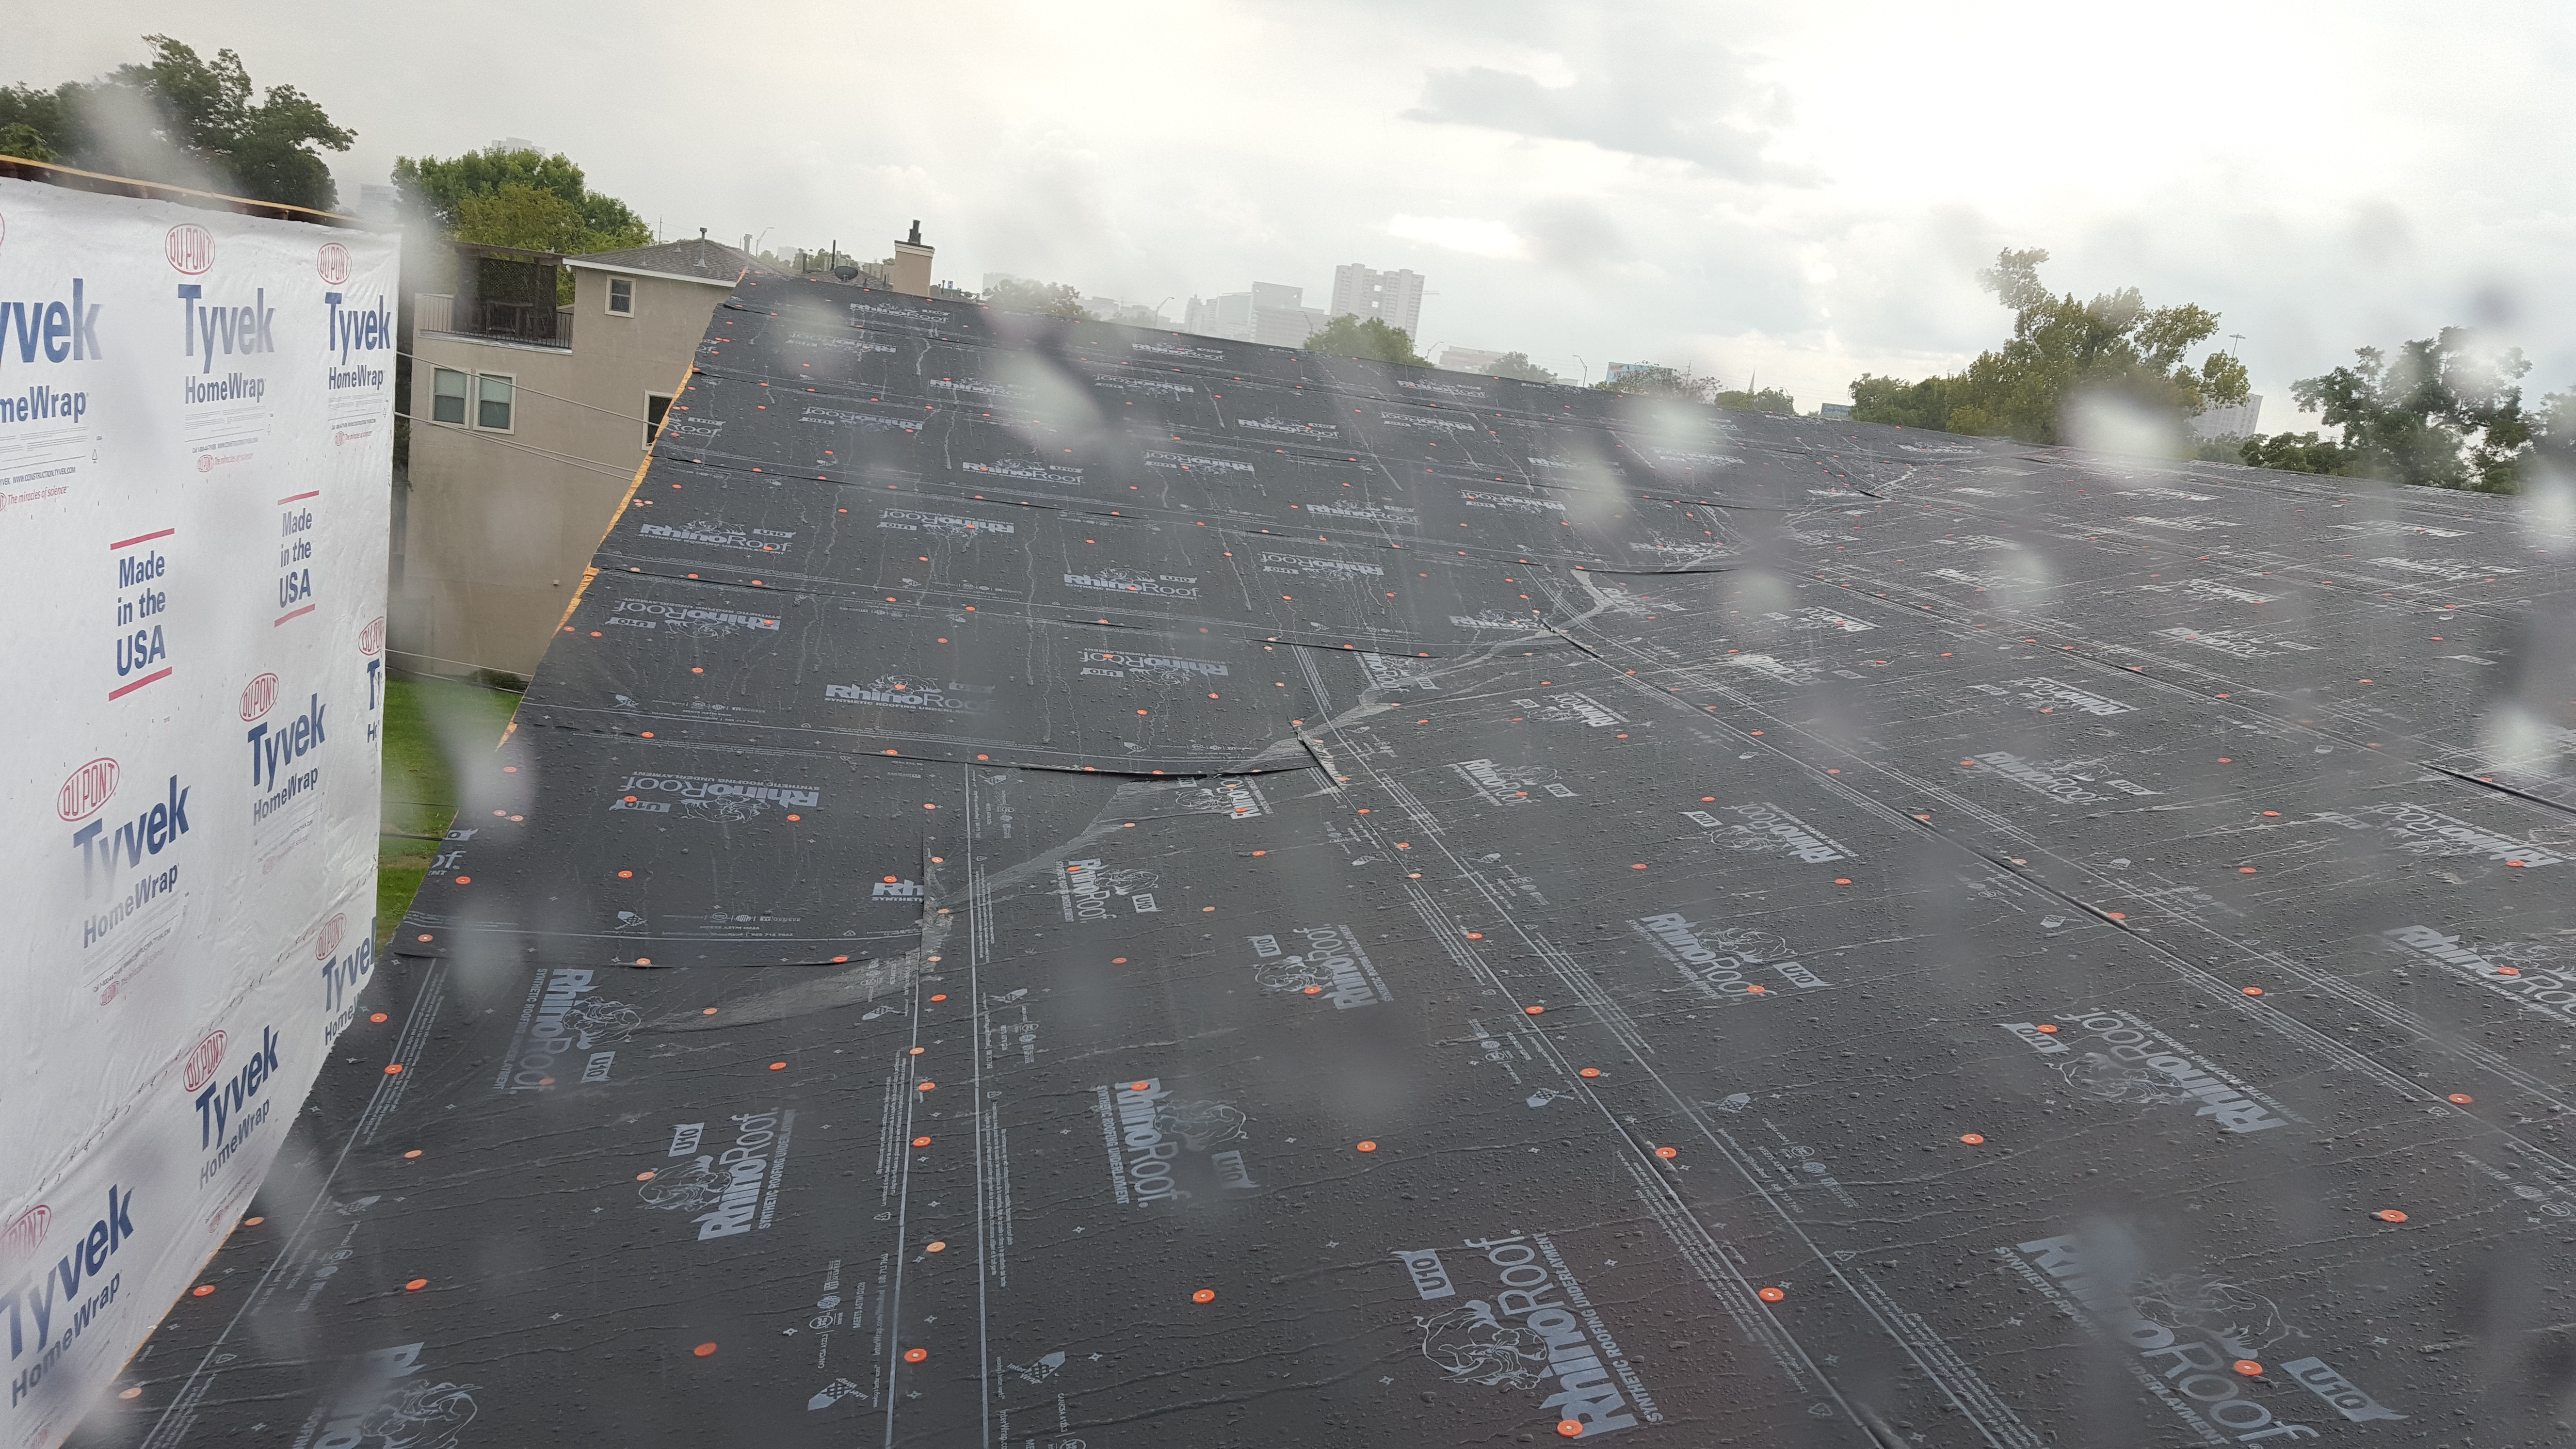
We have made much progress since the previous update. The City of Houston has approved our proposed replat and granted permits for the design. Construction is now well underway and we have finished the foundation, framing, and completed the cornice stage through “dry-in,” which is the critical milestone in a new build where the building begins to assert control over the elements and is able to resist most weather related events, principally rain here in Houston.
Units A and B with building wrap and windows installed. If you look closely, you’ll see the roofer installing shingle underlayment.A closer view of the roofing membrane. House is “dried-in” at this point. Shingles to go on next.
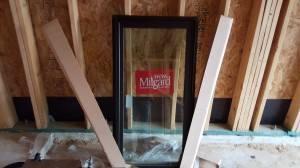
Can’t wait to put these Milgard Aluminum skylights in.And here’s a Milgard aluminum casement window. The frames are thermally broken, which means the metal is not continuous between inside and out, creating a much more energy efficient window. Plus, they look great!
View of garage.This is an area where three cladding materials will come together: stucco, fiber cement siding panels, and tongue-in-groove wood grained composite boards.
The above is an illustration of our new project, which we’re really excited about. Located on a quiet street where midtown and the museum district meet, the homes are also within easy access to both downtown and the Medical Center. Public green space such as Hermann Park and the entertainment and nightlife offered by midtown is just a short drive away on local streets. There is much new residential and retail construction completed or under way in the immediate surrounding area that will serve as both benchmarks for our own project as well as add great value and amenities to the location. One block to the North, owners of the restaurant retail project known as “Almeda Yards” have begun work to convert the former corner gas station art space into the new Retrospect Coffee House as well as constructing new structures for an outdoor dining plaza.


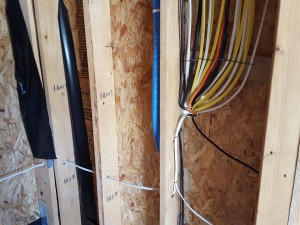 After the conduit is laid and cable run through the conduit, this is what it looks like at the location where electrical power enters the house through the circuit breaker. Pretty ugly at this point. We’ll need to clean it up and make sure the pipes are as neatly installed on the house exterior as possible. Next time, we’ll try to place the circuit breaker in the garage. Second pictures shows view from inside.